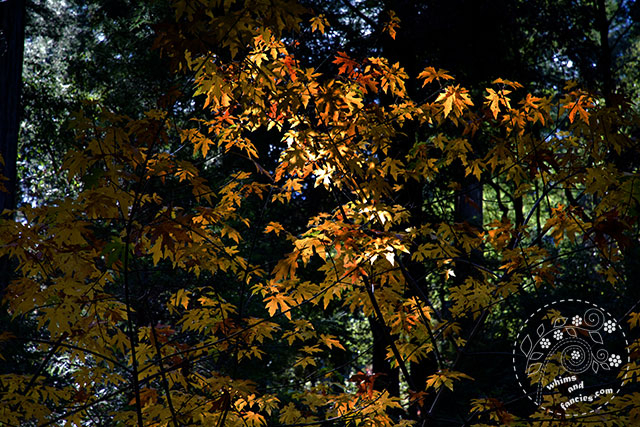
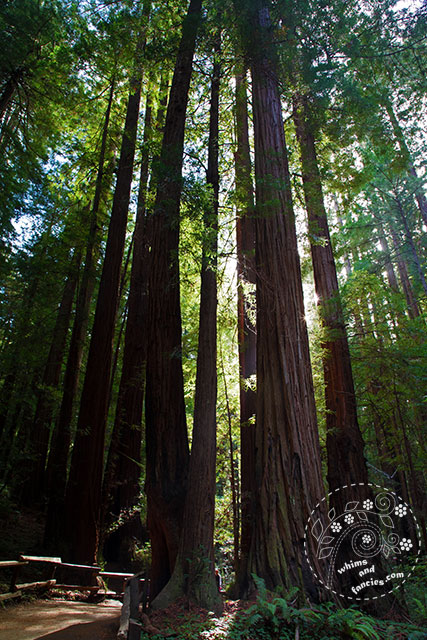
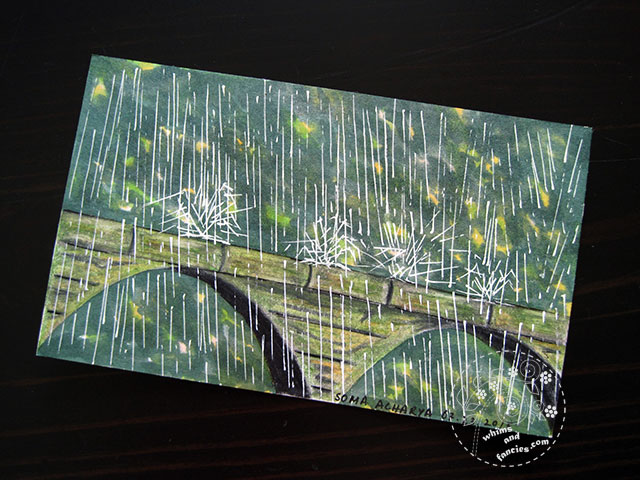
Last month, quite unexpectedly, Mother Nature treated me to a weekend of rain. The sound of rain is like the calls of the mythological Sirens for me. Re-purposing John Muir’s quote – “The rain is calling and I must go”, and go I did. I put on my raincoat and my waterproof pants and went for a 4+ mile run, all the while feeling the rain on my face. I was so happy and full of energy after coming back, I painted this little scene.
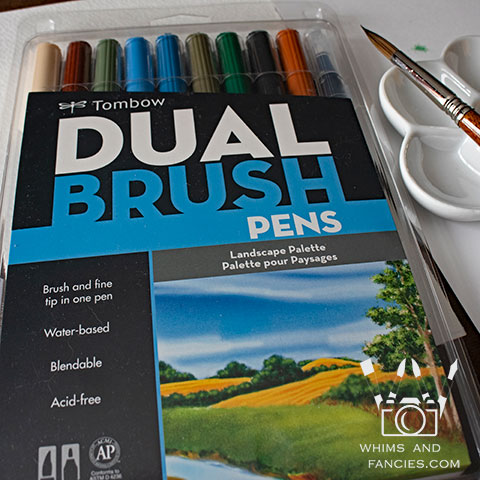
Early this year in January, I got some art supplies for my birthday from my husband. These markers were a part of it.
This review is specially for my Paint Party Friday peeps and anyone who loves watercolour or wanting to plunge into that crazy world.
Tombow markers are available loose, but they also offer a few sets.
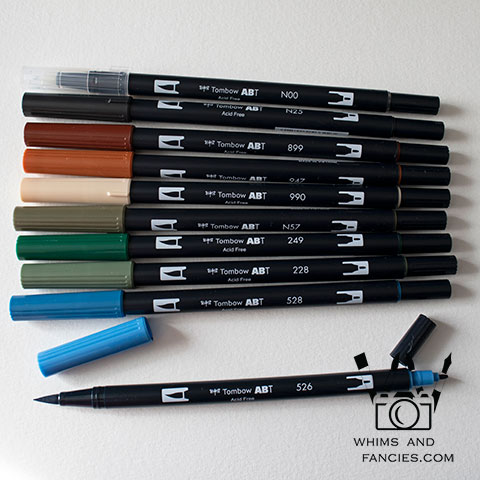
The landscape set included 9 colours and a blender.
They are water-based markers, so very easy to blend with a wet brush. I found the included blender to be useless. It actually scuffed my paper when I used it directly on paper.
The markers only have numbers on them. I found a chart on Tombow’s website which translates the numbers to standard colour names. It’s a circular chart not ordered by number, so it was a bit tedious to find the names.

I applied the markers directly on paper, then used a wet brush to create the swatches.
There is no yellow in the set, that would have been useful.
A lighter blue would have been nice too. The included blues diluted make very nice light blues. However, directly used on the paper, the initial strokes are too dark.
The colours change hue as they dilute. So swatching them was very useful.
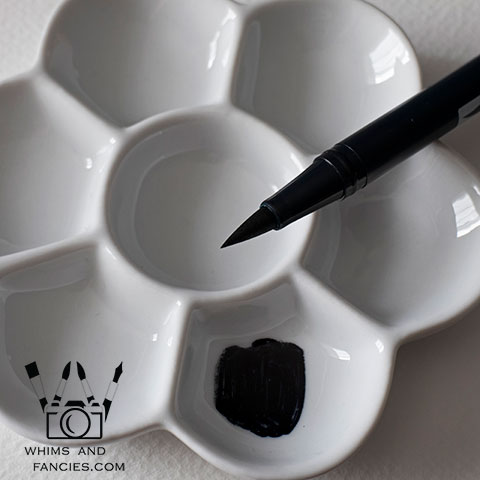
The markers are full of pigment. A gentle dab on the porcelain palette deposited a lot of paint, which I was able to dilute into a much lighter shade.
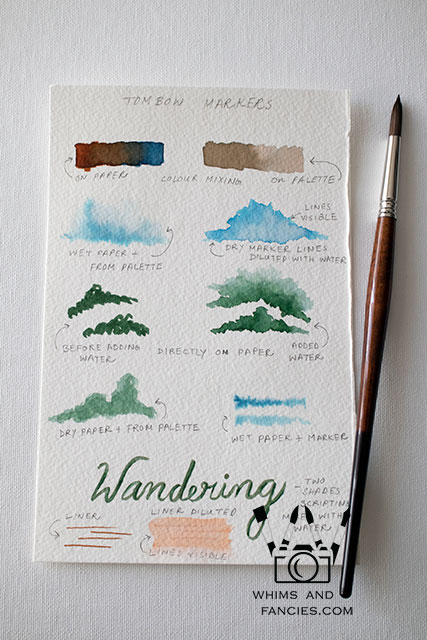
I created a small sheet noting their behaviour.
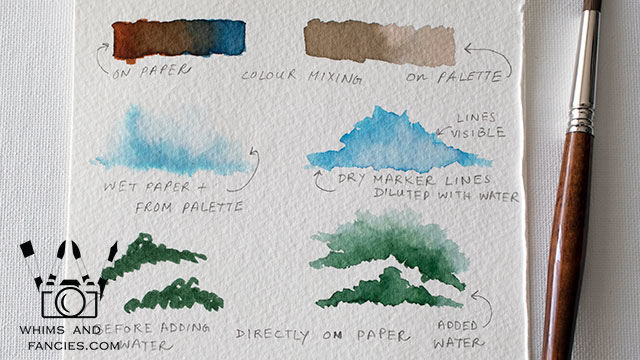
1st row –
- The markers blend very easily to create new colours. Colours blended on the palette are less vibrant than the colours mixed directly on paper.
2nd row –
- For wet on wet, I used a wet brush on paper and then added colour from the palette. The pigments move very freely.
- To see if I can achieve a lighter shade directly on the paper, I drew 4 lines, and used a wet brush. While most of the paint diluted well, there was still a faint hint of the lines on the paper.
3rd row –
- When I needed to paint vibrant dark areas, it worked really well to use the markers on the paper directly, and then use water to move the pigments around.
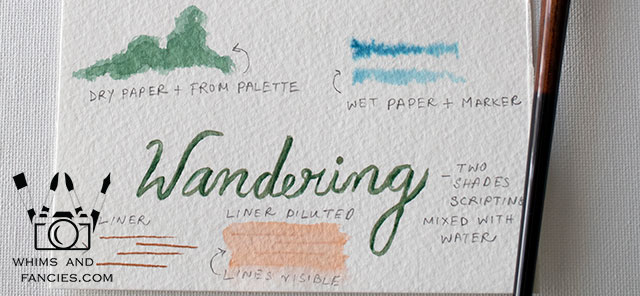
1st row –
- Here I applied paint from palette to dry paper, resulting in a softer application.
- The markers themselves don’t work well on wet surfaces. They start fading very quickly.
2nd row –
- I used brush-tips to write with two colours. Blending them directly on paper with a wet brush created a beautiful effect.
The markers did stain my fingers. The colours came off after a few washes. If you are going to make food after painting with these markers, I suggest being a bit more careful when using them.
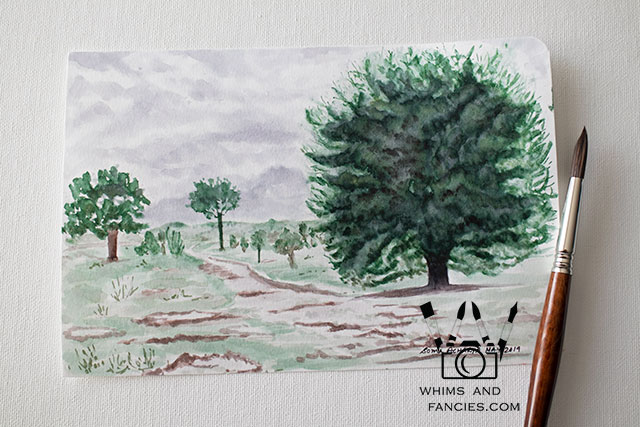
I first painted the scene on a Stillman & Birn paper. I couldn’t quite get it to work the way I wanted, specially with the tree. The colours didn’t move very well. They either got soaked in or lifted off.
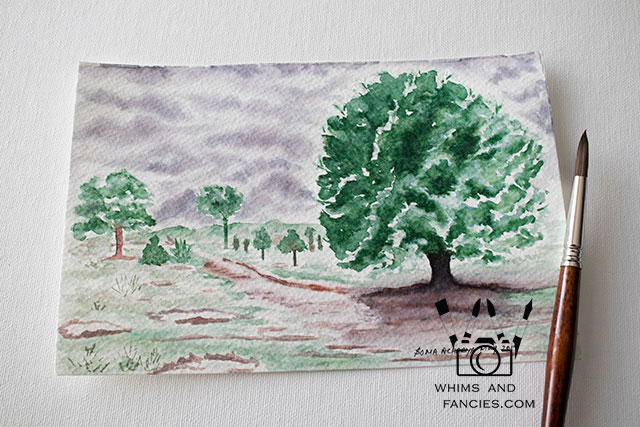
I painted it again on a Strathmore 400 series watercolour paper. I really liked the way the markers behaved on that paper, it was a more fluid application.
Which one do you like better?
Overall I really liked them. They are full of pigment so a little goes a long way. Even on rough watercolour paper, a gentle application was all that was needed. Gentle touch also protects the marker-tips.
If you are thinking about learning watercolour, I think the Tombow markers would be great for that. You can start by drawing with the markers and then add water to blend / dilute the colours. For a softer shade, drop some paint on the palette, then use that with a wet brush.
Endless fun possibilities!!
Happy Painting!
-Soma
I am linking up with the linky parties on my Events And Links page. Please pay a visit to some of them.
Leave a comment


