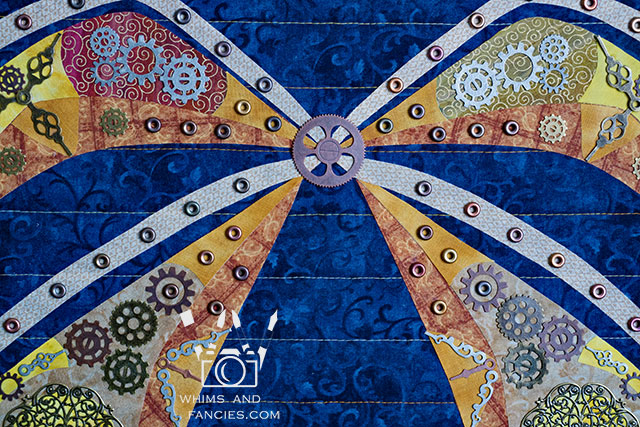
Hello and Welcome to the Show Your Wings bloghop hosted by Carol. Usually I spend a few days thinking about a project for a given blog hop, but this time I instantly knew what I wanted to make – a set of Steampunk Wings.
As you know, I am a very committed paper piecing quilt pattern designer, but for this one I decided to use other techniques to achieve certain effects.

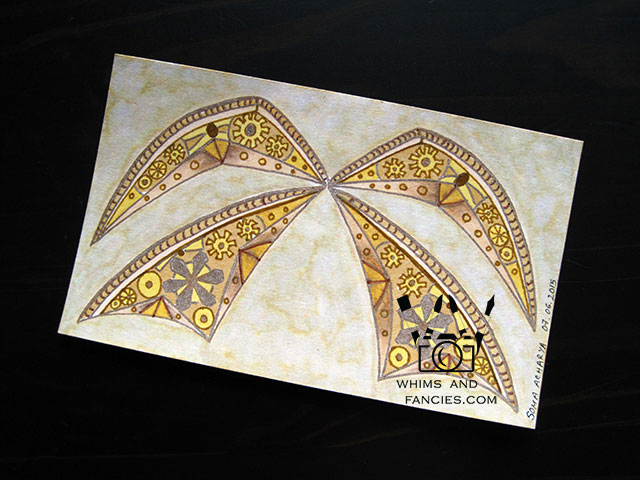
I love steampunk. Alongside playing with the artistic aspect, I also enjoy figuring out how a steampunk mechanism might work. I drew this small set of wings a few years back on a 3″ x 5″ index card. Since then I have wanted to create a larger wall art with it.
Show Your Wings provided the perfect opportunity!

Originally, I was going to create a paper pieced pattern. However, I wanted the wings to sit on top of the background instead of being part of the background. So I quilted the background first, then appliqued the pieces on top of that.

I also thought of painting the yellow and orange pieces, but that would not have had the layered effect I was looking for. Therefore, I continued with applique.

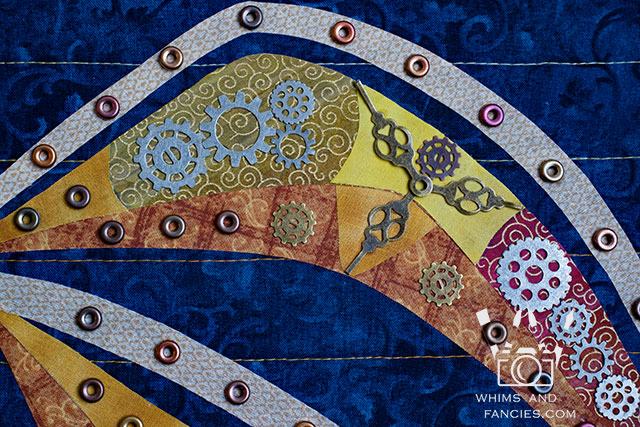
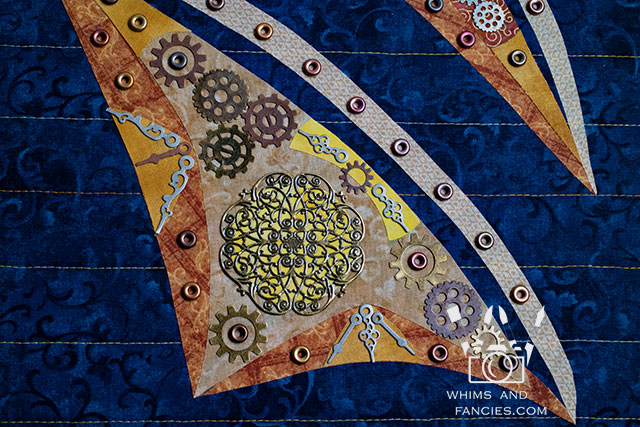
Once all the appliqued pieces were secure on the quilted background, I had the most fun with planning and placing all the metal pieces. As soon as I saw the large decorative pieces in the store, I could easily envision the rest of the wings.

I knew I didn’t want to bind it or add any kind of border around it. Facing the piece would work, but I wanted a lot more stability and wanted to display the wings as flat as I possibly could. So in the end, I mounted the piece around a stretched art canvas. I will write another post to show you how I did that.
Until next time,
-Soma
I am linking up with the linky parties on my Events And Links page. Please pay a visit to some of them.
Leave a comment
