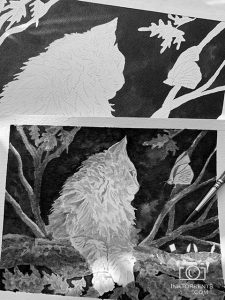
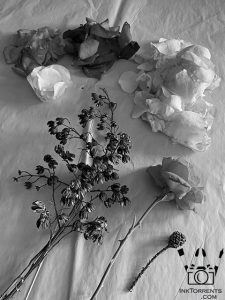
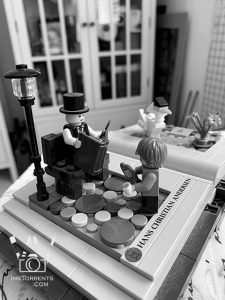
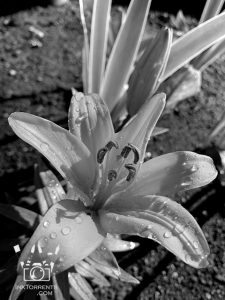
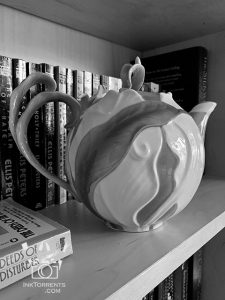
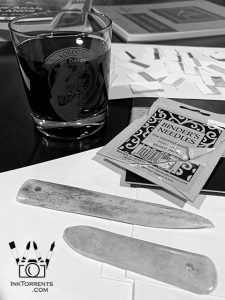
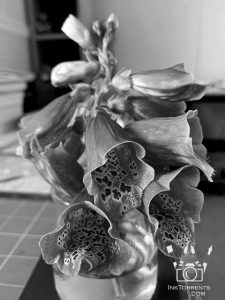
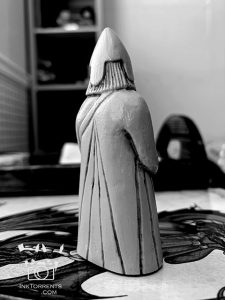
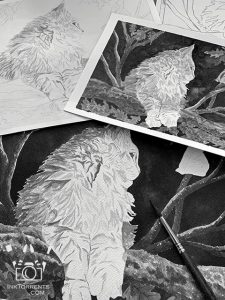
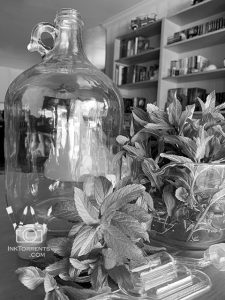
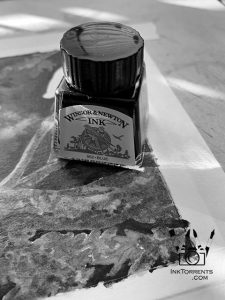
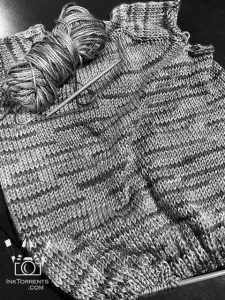
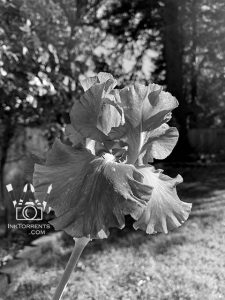
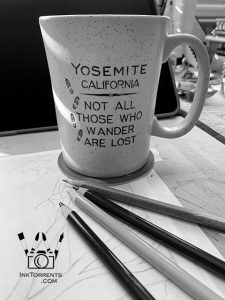
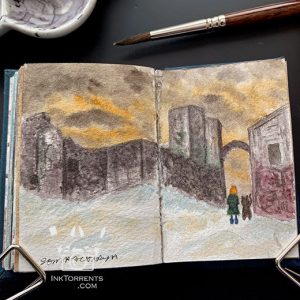
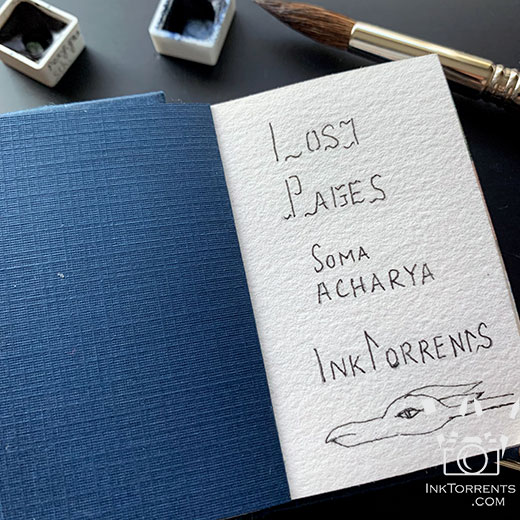
I seriously needed to turn off the world and get away from it all. Find some comfort in the little things. I worked in the garden while listening to the trees swishing in the morning breeze, my favourite way to wake up. I painted a bookmark and revisited my Simple365 photos of things that make me happy. Let me share these little stories with you in the hope of bringing some joy to your world as well.
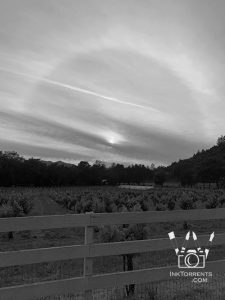
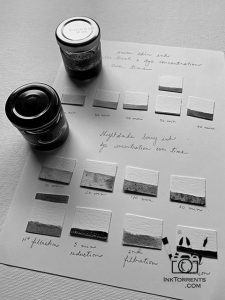
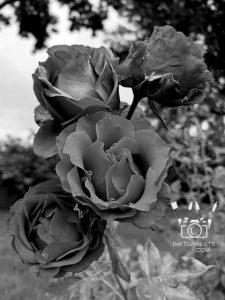
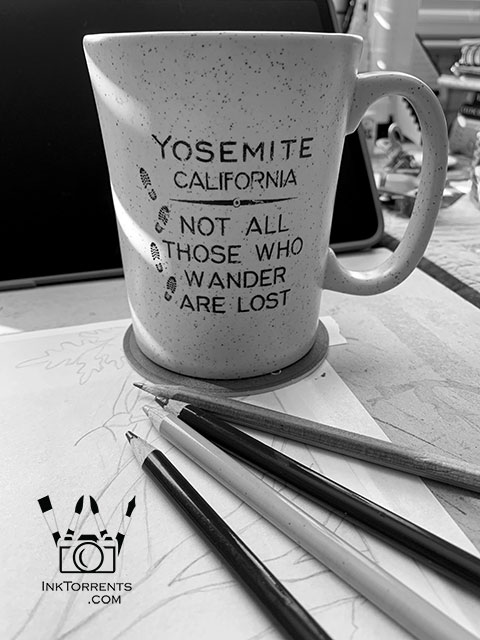
Early last year in February I started taking daily photos of simple, everyday things. This set was taken during the last half of May. I didn’t leave the house, so the photos are of my everyday surroundings around the house, garden and my atelier where I spent most of my days.
Simple 365 – Set 6
Please Click on the image thumbnails to see the photos and read the captions.
I also created a page with all the previously shared photos from Simple365. I will add more photos to that page as well, as I share them here.
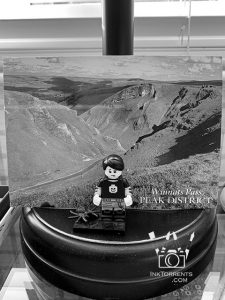
A little tradition
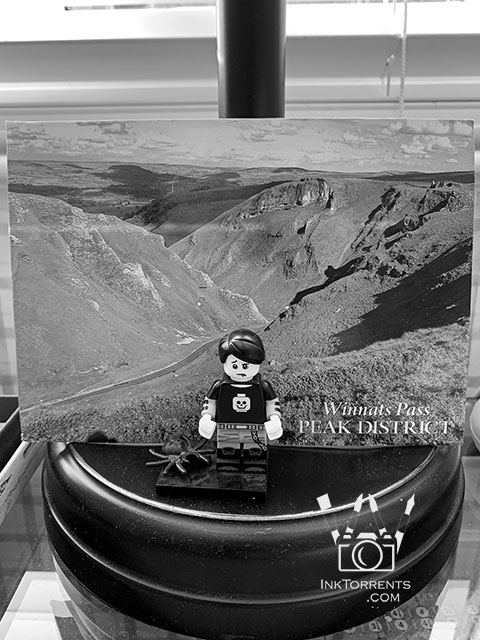
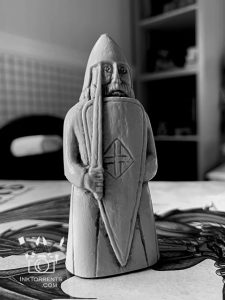
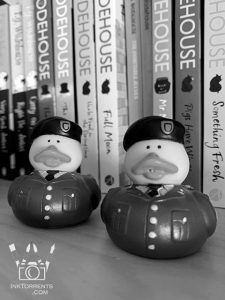
When we travel abroad, my husband sends me a postcard from that place. That way I have something in the mail after I come home. I rotate these postcards on my desk. My little desk friend loves to pose in front of them.
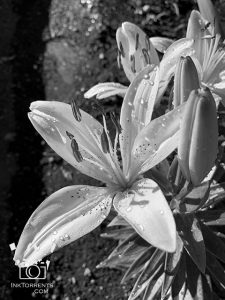
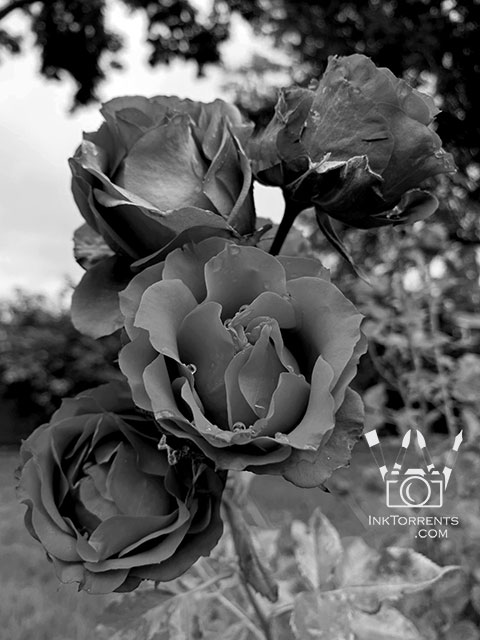
A little joy from the garden
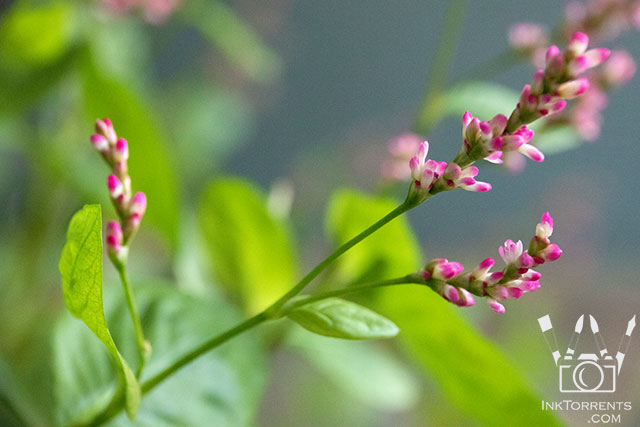
Japanese Indigo loves hot weather. I mistakenly sowed some seeds at the worst time of the year, in autumn. They were indoors in their little nursery for the longest time until I couldn’t keep them there any longer. Unfortunately, I had to replant them in large pots right around winter. We tucked them in at night under big shrouds, and used my husband’s halogen task lights to keep them warm.
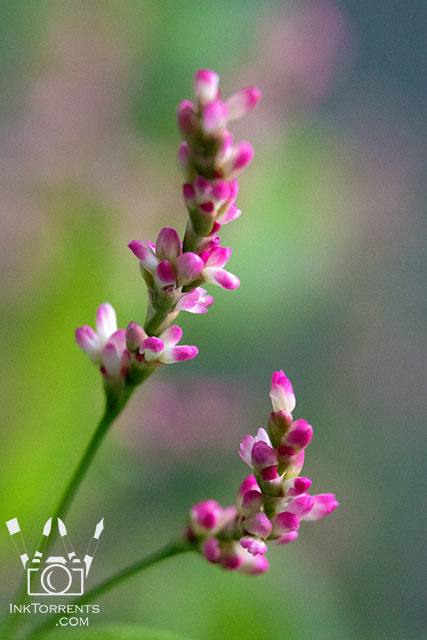
They not only made it through the winter, but are now blooming with the most beautiful tiny little flowers. I love it when plants survive and thrive. Do you talk to your plants? I quite often pet them and talk to them.
A quill story
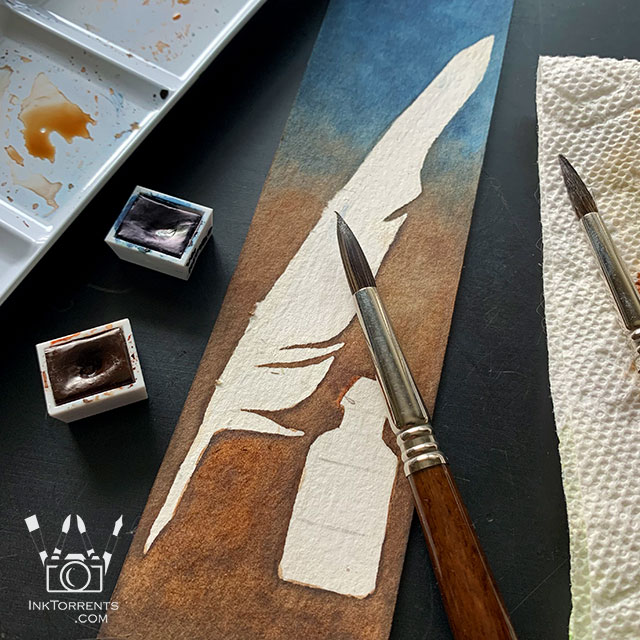
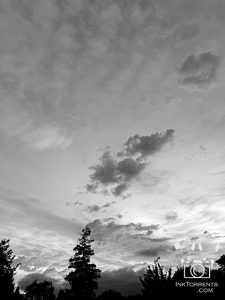
However, even the garden work came to a sudden halt. A few weeks back, it was quite abysmal outside due to the bad air from the wildfires. By that Friday, I hadn’t seen a natural sky for days, only a smoke-filled grey-red sky. My eyes kept burning, and only stopped when we filtered the air in the house. All this from fires that were not even very close to us.
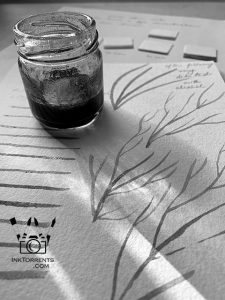
I decided to close the windows so I didn’t have to see the outside, sat tight inside and worked on making a bookmark out of a scrap piece of paper.
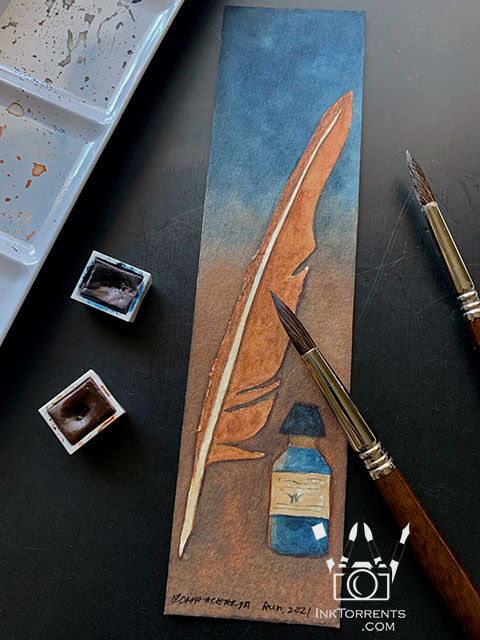
I have collected quite a few ink bottles and writing instruments from our travels to medieval castles and abbeys. I transported myself into a place where a scribe is working by candlelight.
Art can be such a wonderful balm, and it really helped that day when I was so emotionally exhausted. Working on this bookmark while listening to one of my favourite audiobooks was just perfect.
I feel much more refreshed and ready to take on the world once again. The air around us has cleared, and I can go outside and play/work in the garden again. Little stories that make everyday special.
I hope this provided you some escape from the everyday and made you smile. I would love to know which photo is your favourite.
Until next time,
-Soma
I am linking up with the linky parties on my Events And Links page. Please pay a visit to some of them.
Leave a comment


