Wandering Camera Revival


A couple of years ago I decided to take one photo per day for 365 days to expand my photography skills.   At the same time, I also hosted a linky party called Wandering Camera and invited you to join me by linking up your monthly photos.  Project 365 ended, and so did Wandering Camera.  Since then I have travelled quite a bit and have taken a LOT of photos.  Sadly though, they have stayed locked up in the darkness of my digital storage.



I am getting back to photography and Wandering Camera is also making a return.

On the last Thursday of every month, I would love for you to join me by linking up your photos.  Posts with your project photos (sewing, painting, etc.) are most welcome as well.

You can add any number of links to your posts from the previous month, or write a new post to link up.  It was a lot of fun last time, and I can’t wait to see your posts again.  The first link-up with be in June.

I have already started wandering with my camera again.


Last week it was fairly cloudy outside, perfect weather for flower photography.  Despite my deadly allergies, I hazarded spending a little time outside in the garden, taking photos.
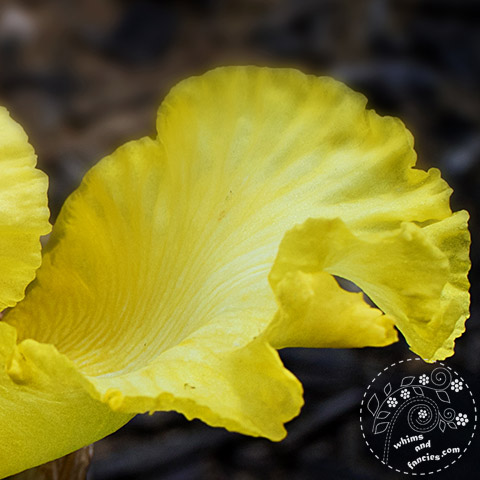


I don’t do much macro/close-up photography.  Every now and then I get the urge to play with that though, and flowers make great subjects.  So out I went, camera stand in the crook of one arm and camera dangling from the other.


Knowing how much I love iris and larkspur, Mary from Needled Mom, sent me a box of iris rhizomes and a packet of larkspur seeds from her garden.  Thank You so much, Mary!


Now they are blooming in our garden and swaying in the wind.


All those flower photos made me finish this drawing of thistle flowers based on photos I took in Scotland.  I started this drawing so long ago, now I can finally start painting it.


I love capturing the world with my camera.  Sometimes the world is right outside my door.  I hope you will join me once more on Wandering Camera.  Last time I found new pages and made new friends, looking forward to doing that again.


Camera And Photography Linky Party | Whims And Fancies


The first linky party will open on June 28th.  If you follow me via email you will get a reminder.  Here is a little badge for you to share on your page.  Please invite others to participate.


Let’s Play, 
-Soma


I am linking up with the linky parties on my Events And Links page.  Please pay a visit to some of them.


Leave a comment


Of Flowers And Trees


Stained Glass Flower Quilt Patterns | Whims And Fancies


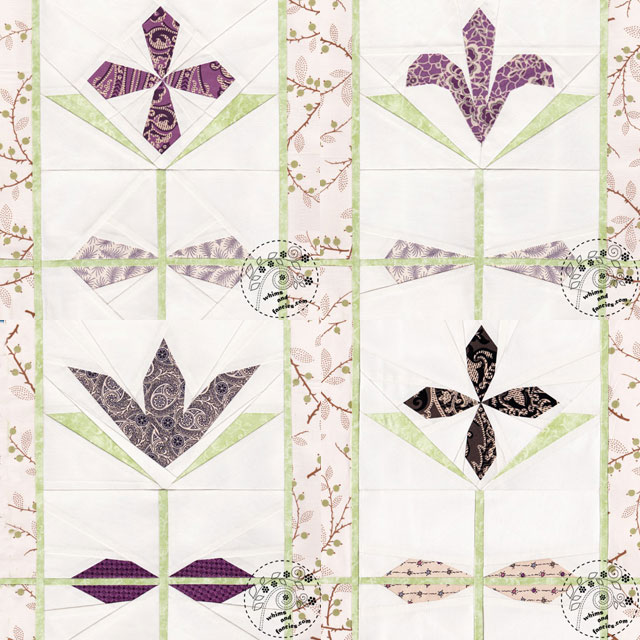
Lately it has been wet around here and my plans for planting our now fairly bare garden have been stagnant.  In the meantime, I moved on to working on a little indoor flower project.  This is another one of those long-forgotten quilts.  I designed my favourite flower quilt patterns in the style of stained glass window panels.  As I was drawing the flowers, they took on shapes of mineral crystals.  Since I love geology, the blocks are all named after my favourite minerals – Garnet Primrose, Kyanite Iris, Olivine Tulip and Selenite Clematis.  I made the initial blocks with the Downton Abbey fabrics.


Stained Glass Flower Quilt Patterns | Whims And Fancies


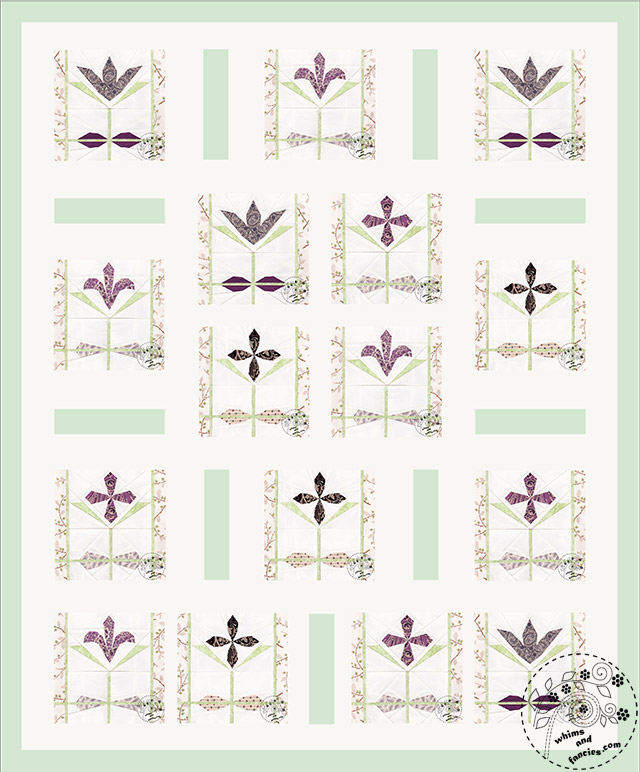
I didn’t want an usual 4 x 5 block arrangement for this quilt.  I wanted something completely different, a special layout for this one.  Until I had the layout designed, I didn’t know how many blocks I needed to make and progress stalled.  The four blocks went into the cabinet not to see the light of day again for a long time. Now it is finally time to dust off the pieces and start working on the rest of the quilt.

This is the layout I came up with.  I imagined walking through a very big garden made up of smaller, sectional gardens.  Enchanted Garden is what came to mind as the name.  Now that the layout is done, I can start making the rest of the flowers.


Since I always get asked about the pattern links, you can purchase the stained glass flower quilt patterns in my shop.


They are quite easy to make 12″ blocks.  Many thanks to those of you who purchased the patterns already.


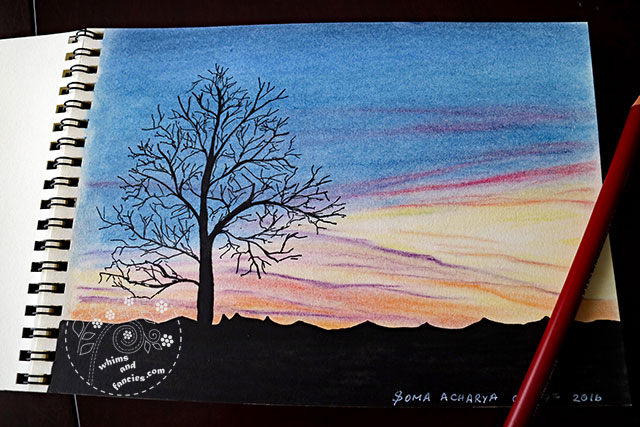
Derwent Pastel Pencils Evening Sky Drawing | Whims And Fancies


I do love nature and my most favourite are the trees.  One evening, I sat down to relax with my sketchbook while running one of my favourite movies in the background.  It was early March, the trees were still very bare and the sky took on beautiful colours at sunset.  Using pastel pencils I was trying to capture those colours peeking through the silhouette of a tree.


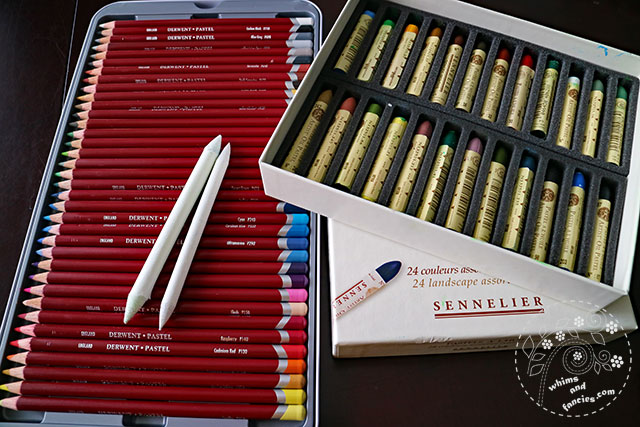
Sennelier Oil Pastel And Derwent Pastel Pencils | Whims And Fancies


A few notes about oil pastel and pastel


Although they share the name pastel, oil pastel and pastel are really quite different from each other and cannot be used together.  I used paper stumps to blend the pastel pencils.  I tried to use the stumps to blend the oil pastel, but using my fingers proved more effective.  The heat from my finger warmed up the oil in the oil pastels, which in turn blended the colours a lot better.


I didn’t buy any special paper for the pastel pencils.  They worked great on Strathmore 400 Series 80lb drawing paper.  For the oil pastels, however, I used a thicker paper so the oil from the pastel would not seep through.  I used Canson 150lb smooth surface paper for the oil pastels.  I would like the try the oil pastels on canvas one day.


Pastel sticks create quite a lot of chalk-dust, pencils create a lot less.  That’s why I like the pastel pencils better.  They blend very easily, they smudge easily too.  Oil pastels have mineral oil which never really dries completely, so they would smudge as well.  Therefore, both of them need sealing. I used Grumbacher Matte Finish Final Fixative to seal both of them.  One thin coat was enough for the pastel pencils, but the oil pastels needed three thin coats.  I did take the time to let each coat completely dry before applying the next one.  I suggest you try out the sealant on a small test sample before you apply it to your finished painting.


I couldn’t find much information on this and had to figure a lot of this out by playing.  So, in case you paint, I thought you might find this information helpful.


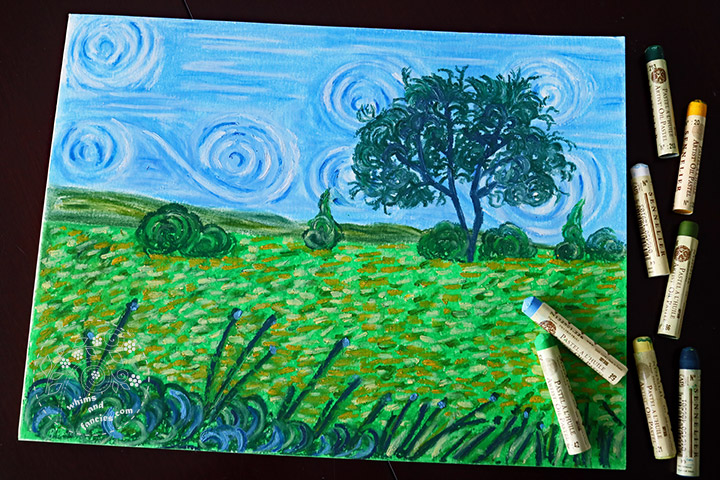
Van Gogh style Field Of Wildflower Oil Pastel Painting with Sennelier Oil Pastel | Whims And Fancies


I painted this Field Of Wild Flowers with oil pastels in the style of Van Gogh.  As you can see, they behave quite differently than pastel pencils.  I wrote about his painting a couple of weeks ago in The Master And The Apprentice.


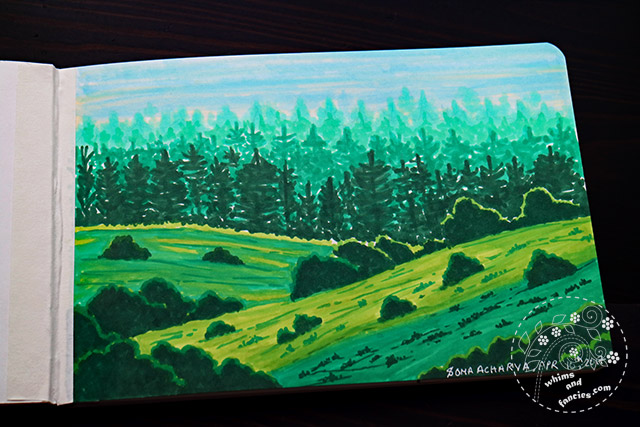
Copic Marker Landscape Painting | Whims And Fancies


One Friday, it was raining outside and I was feeling like doodling after work, but without taking out a whole pile of painting paraphernalia.  So I pulled out my box full of markers.  I have never used markers for landscape painting before, so this was a first for me.  Markers can get quite expensive and they can’t be mixed together to create new colours. Since I don’t have an unlimited supply, I lined up the shades I had at home and doodled away at this picture of trees in the morning at the local park while listening to the patter of rain.


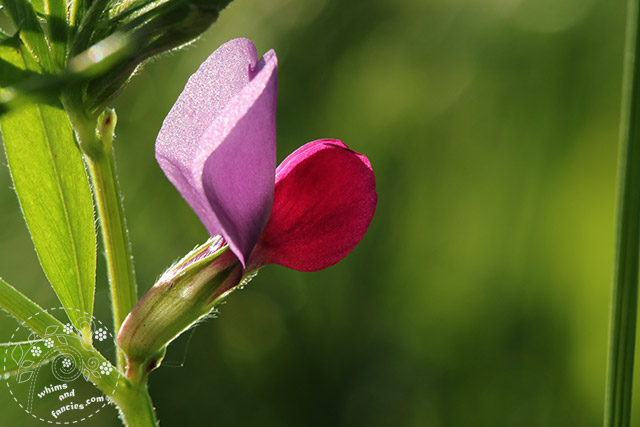
Spring Vetch Flower | Whims And Fancies


I leave you with a photo of a tiny little Spring Vetch adding its splash of colour to the countryside around here.

Hope you find some inspiration in flowers and trees this week as well!
-Soma


I am also linking up on Through My Lens, Our World TuesdayWednesday Around The World, Seasons, and Friday Photo Journal along with other linky parties on my Events And Links page.


Leave a comment


error: Content is protected !!