
Welcome to this month’s Wandering Camera! For my new readers, Wandering Camera is a linky party hosted here on the last Thursday of every month. I usually share my photos, and occasionally artwork too, and I welcome you to share any photos or creative posts here. I have been sharing a few photos from the Oxford university area, along with a bit of related architectural history.
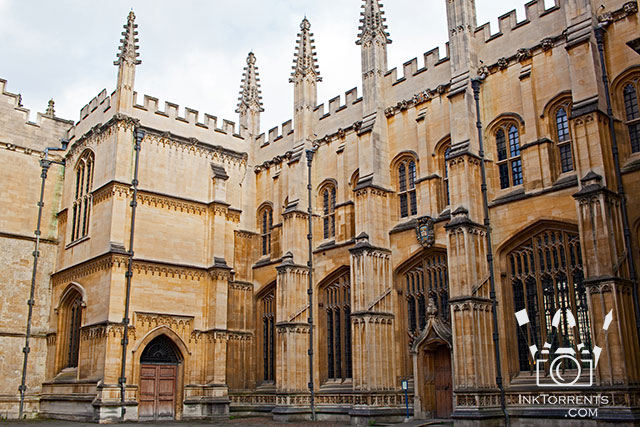
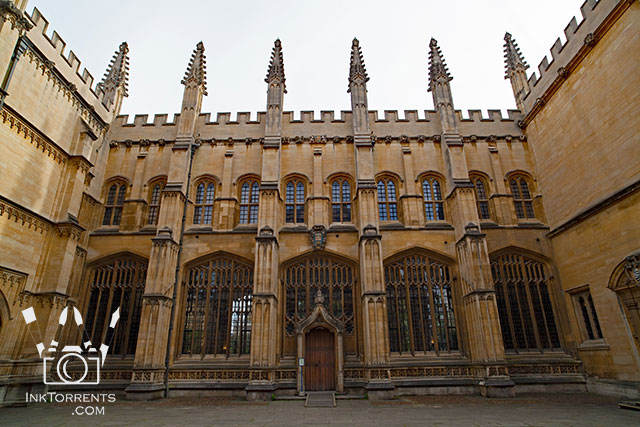
On the last post, I wrote about the Catte Street area. I would like to continue the journey from there. Right across the Sheldonian theatre is the Divinity School. The door in the middle of the large windows was inserted by Christopher Wren in the 1600s for easy access between the two buildings.
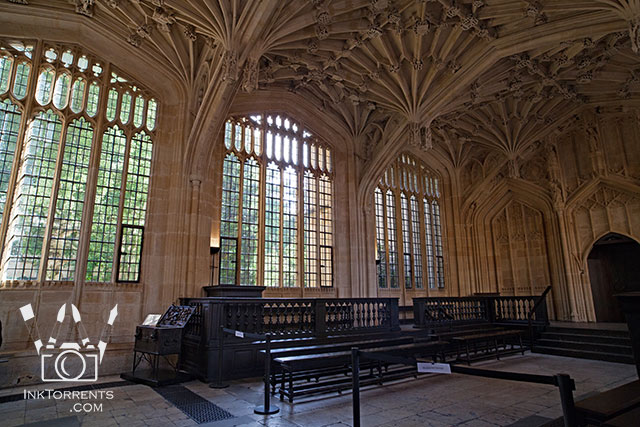
The Divinity School was built over multiple decades as a lecture hall in the 1400s . I really fell in love with the large windows in this room.
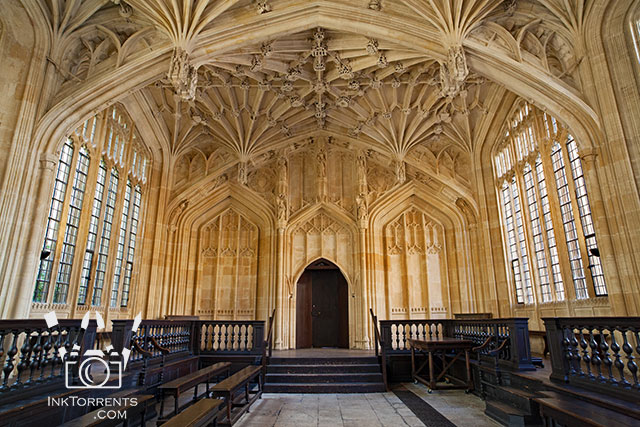
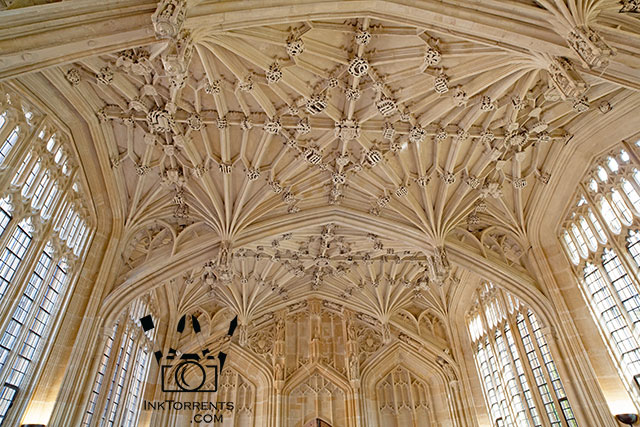
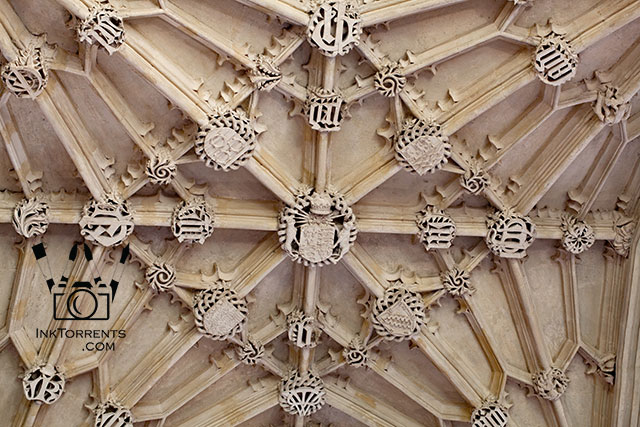
The gorgeous vaulted ceiling was designed by Willam Orchard, an English Gothic architect. The building is attached to the Bodleian Library. The beautiful ceiling supports the old library upstairs.
I won’t bore you with the architectural details, but simply let you enjoy the photos. The entirety of the ceiling is carved with images. Please click on the image thumbnails to see the photos.
The entry to this beautiful hall is through the Old Schools Quad on Catte Street.
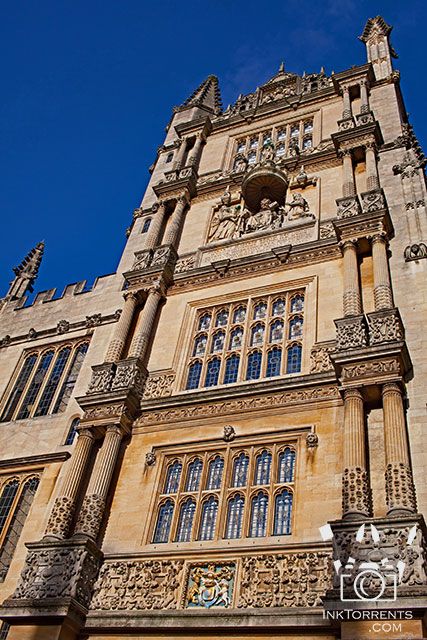
The tower of the Quad is the main entrance to the Bodleian Library and is known as the Tower Of The Five Orders.
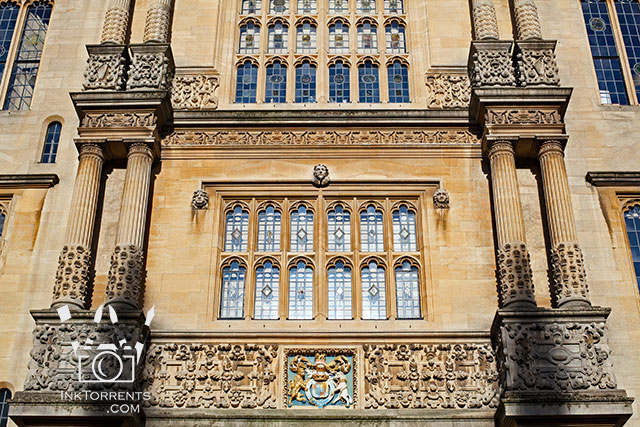
The ornamentation of the tower is based on the five orders of the classical architecture, hence the name.
Here are a couple of detail sketches from my travel journal.
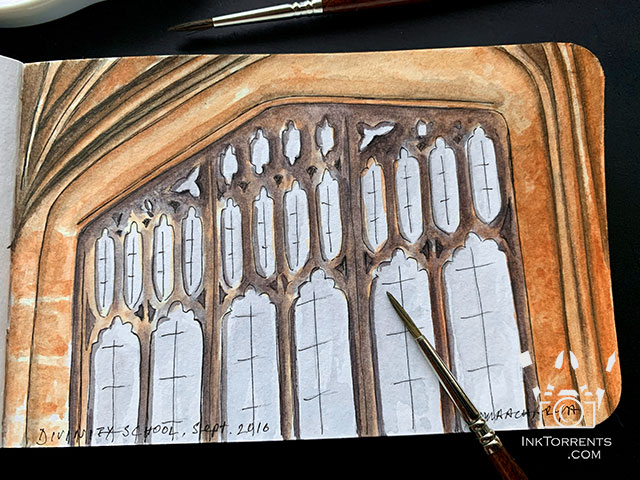
The Window of the Divinity School
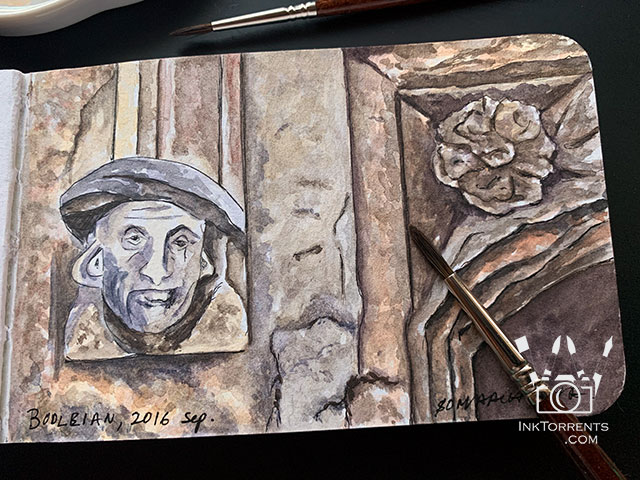
One of the many faces in the Old School Quad. This one was at the doorway of Schola Astronomiae et Rhetoricae, also the library gift shop. The names later appeared in one my paintings – The Magician’s Bookshelf.
I really wish I had a lot more time to take in all the details. However, as is the case with international travel, one is always pressed for time. A four-hour drive to the City Of York was ahead of us, and I still wanted to stop by Exeter College. So I tore myself away from here and started to walk toward Turl Street.
I am a little behind with replying to emails and visiting you back, but I am hoping to catch up within the next few days. If you have not heard back from me, my sincere apologies.
Here are my previous posts and photos from Oxford, England, 2016 –

Wandering Camera is a monthly event that runs on the last Thursday of every month. If you follow me via email, you will get a reminder.
All photo and art/creative-themed posts are welcome. You can continue to link up multiple posts.
Please add the badge or a text link back to this site on your blog, or on each post that you link up. I look forward to seeing your photos.
Have fun!!
You are invited to the Inlinkz link party!
I am linking up with the linky parties on my Events And Links page. Please pay a visit to some of them.
Leave a comment