Winter Warmth

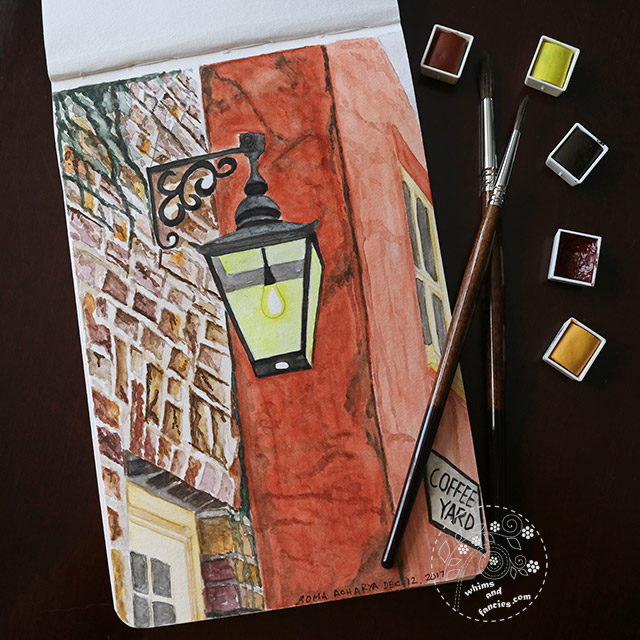
Old York street light with Sennelier watercolour | Whims And Fancies


Purchase Old York Pub


Lately, my head has been full of plans for the future and a growing list of things to accomplish, matched only by my lackluster state of mind.  A few months ago, I took a photo of a street light while exploring the old city of York, and have wanted to paint this ever since.

On Tuesday, as I finally made myself put the paint-loaded brush to paper, the ease came back.  Painting the weathered stones and the walls was quite cathartic, and the warm light became the proverbial beacon.


Thank You for keeping me going with your lovely supportive words and personal emails sharing memories evoked by my work.


Tule Elk at Point Reyes | Whims And Fancies


More photos from Pt. Reyes on A Day At The Sea Post


A few weeks ago we went back to Point Reyes National Seashore.  On our way back, we came across these Tule elks grazing right by the roadside. They were introduced back after their extirpation from this region in the 1850s.  Warms my heart to see them back in their natural habitat.


Tule elks at Point Reyes | Whims And Fancies


Last rays of the setting sun


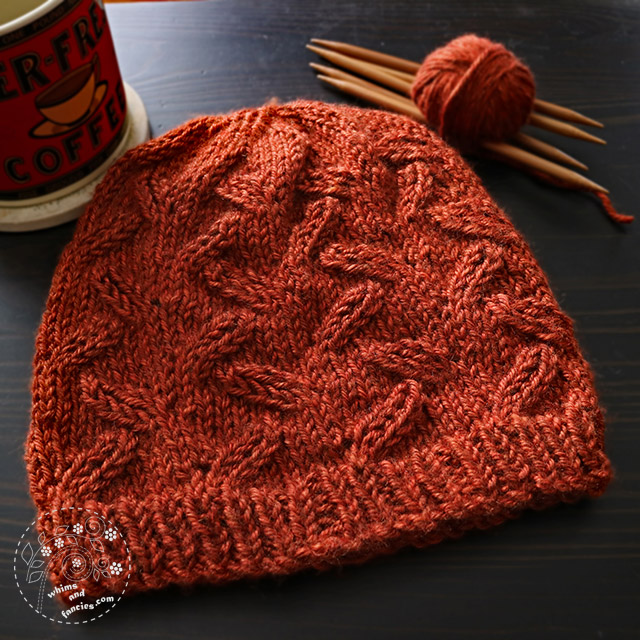
Harvest Hat Knitting Pattern | Whims And Fancies


I made a pair of mitts for my friend Kris before.  It was about time I made this matching hat for her.  This hat, along with a few other things made it out there on Monday.  She loves it and said the hat snuggles her ears too.  Perfect!


Yosemite | Whims And Fancies


Yosemite And I – A post about why I love it there so much

 
We haven’t had much rain or snow here this year.  Instead, our beautiful California has been burning from north to south.  Snow-covered landscape has been scarce this year, as has the winter rain.


Colonial House quilt pattern | Whims And Fancies


Post about a holiday in Kings Canyon inspired wall hanging

Purchase Colonial House Pattern


That photo I took of Yosemite reminded me of sitting by a large stone fireplace, sipping on a warm drink after a wonderful day out in the snow.  The parks here have common rooms with warm fires in large stone fireplaces.  We will not be going to the Sierra mountains this year, but that won’t stop me dreaming of my favourite place.


Black And White Sewing | Whims And Fancies


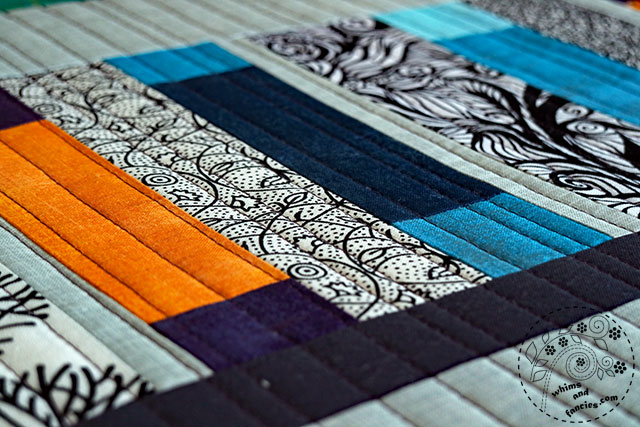
At home, looking out of the window at the bare trees and at the bookshelves beside the window gave me an idea for a small sewing project.


The time has come for my holiday hibernation away from the computer.  This year with everything that has been going on, I will need this time to gather myself more than ever.  Time to bask in the warmth that old man winter brings to me.  This comes in the guise of admiring my favourite star clusters during the long winter nights,  and walks wearing my favourite woolens during the days. 

Inside the home, long hours of video game playing with my husband has become a tradition.  I love to paint in the soft winter sunlight.  Ink and paper adventures await me, along with the prospect of a warm beverage, fireside and kitty cuddles. 


Happy Holidays, everyone!  I wish you a warm and safe holiday season full of wonder and magic!

-Soma


I am linking up with the linky parties on my Events And Links page.  They are great for inspiration, please pay a visit to some of them.


Leave a comment


Pencil Cases With Adjustable Flap – Tutorial

Pencil Cases With Adjustable Flap – Tutorial | Whims And Fancies


Since we live on the Pacific coast, any overseas travel ends up being a very long affair.  First, it’s about a 5-hour flight coast to coast across the US, then crossing the Atlantic takes another 8+ hours depending on the destination.  I always pack in a sketchbook and pencils to keep myself occupied.

It occurred to me that a small pencil case would be nice as a storage for those flights.  That way, I wouldn’t have to keep holding them in my hand and also wouldn’t risk dropping them.


Pencil Cases With Adjustable Flap – Tutorial | Whims And Fancies


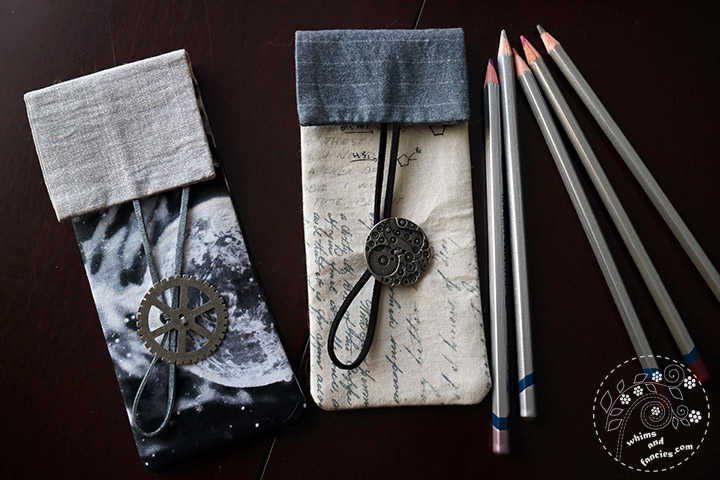
The grey one was so easy to make that I decided to make another one using the space fabric and share a tutorial with you.

The one I made is 3.0 inches wide and holds 7-8 pencils.  You can adjust the width to add more pencils, of course.   Substitute the 3.5 inch with your own number for the adjusted width.  Just remember to add 0.5 inch for seam allowance (0.25 inch on each side).

You don’t have to be too exact with your measurements for this pencil case.  There is room for mistakes and you can always trim to align the sides.  I used 0.25 inch seam allowance.


Materials –


Outside Fabric (space fabric in the pictures) –

7.0 x 3.5 inches – 2 pieces, one for the back side and one for the front side

Lining Fabric (light grey/silver fabric in the pictures) 

A contrasting colour works well for this project.

7.0 x 3.5 inch – 1 piece

4.0 x 3.5 inch – 1 piece

10.5 x 3.5 inch – 1 piece

Iron-On Interfacing –

Light-weight interfacing, just stiff enough to provide stability.

7.0 x 3.5 inch – 1 piece

10.5 x 3.5 inch – 1 piece

Button – 1 medium to large size

Cord – 16.0 inch


Pencil Cases With Adjustable Flap – Tutorial | Whims And Fancies


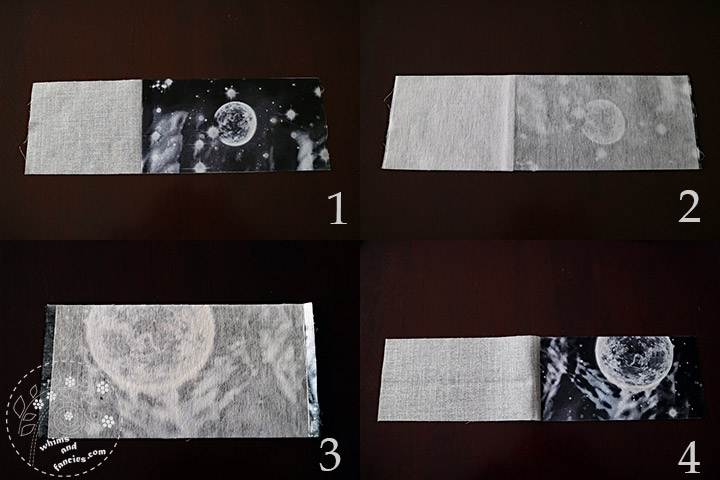
1. Place the 4.0 x 3.5 inch lining fabric on top of the 7.0 x 3.5 inch outer fabric that is for the back side, right sides facing together, aligned at the top.  Sew the 3.5 inch top edges together.  Note – If you are using directional outer fabric, make sure to stitch the lining piece to the top edge of the outer fabric.  Press the seam.

2. Iron on the 10.5 x 3.5 inch interfacing on the back of the above piece.  This is the finished back piece.  Set it aside.

3.  Take the 7.0 x 3.5 inch outer fabric that is meant for the front side, iron on the 7.0 x 3.5 inch interfacing on the back of this fabric.

4.  Place the 7.0 x 3.5 inch lining fabric on the piece from step 3, right sides facing together, aligned on all sides.  Sew the 3.5 inch top edges together. Note – Here also, if you are using directional outer fabric, make sure to stitch the lining piece to the top edge of the outer fabric.


Pencil Cases With Adjustable Flap – Tutorial | Whims And Fancies


5.  Fold the lining fabric behind the outer fabric,  iron the seam and top stitch.  Measure approximately 2.5 inches from the bottom (open edge) and sew a button in the middle.  I stitched the button only to the outer fabric.  This is the finished front piece.

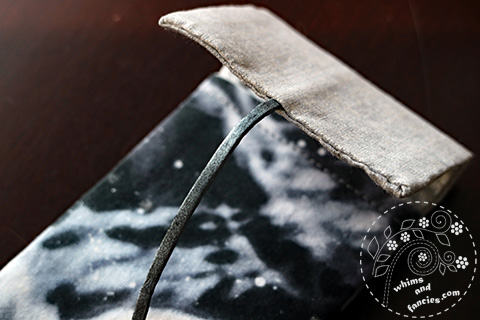
6.  Place the 10.5 x 3.5 inch lining fabric wrong side up beside the finished front piece from step 5, aligning the bottoms.  Mark a spot in the middle of the lining fabric such that the spot is at least 0.5 inch under the top edge of the front piece on the right side. Sew the cord on the wrong side of the lining fabric on that marked spot.  Note – Make sure the cord is pointed upward, away from the bottom edge, as shown in the picture.

7.  Lay down the long back piece right side up.  Place the smaller front piece on top of it with the lining fabric side facing up, outer fabric side facing down.  Then place the cord-stitched lining fabric, wrong side up, as shown.  Note – Make sure the cord is pointing toward the top side.  I offset the pieces in the picture to show you the placements.  Align all sides.  Sew the bottom side (opposite the cord) first, then sew the two long sides together.  Leave the top open so you can turn the pencil case out.

8. Trim the bottom corners and slowly turn the pencil case out.


Pencil Cases With Adjustable Flap – Tutorial | Whims And Fancies


9.  Place a pencil in the pocket now and fold the flap over for sizing.  Trim the edge if you want a shorter flap.  Note – If you trim, make sure to tuck the cord in between the lining and the back piece to keep it out of the way.  Fold the open edge in 0.25 inch all around and iron.  You can now top stitch the top gap to close it.  I didn’t like that look, so I blind-stitched mine.  Make sure the cord is in the centre as you stitch the gap shut.


Pencil Cases With Adjustable Flap – Tutorial | Whims And Fancies


That’s it!  This is the back of the case.


Pencil Cases With Adjustable Flap – Tutorial | Whims And Fancies


Fill the case with pencils, loop the cord around the button a couple of times and tie a knot.  I used a cord instead of velcro or a push button because I wanted the opening to be versatile.  This way I can use it for pencils or pens of different lengths and still be able to close the case snugly.


I hope you find this tutorial useful.  I am sure you can think of many things to store in them other than pencils and pens.


I really liked the steampunk charm pieces, but I needed buttons.  So I drilled holes in them to make buttons out of them.  My local craft store didn’t have any grey cord, and I really wanted to use a silver/grey cord for the space-themed one.  I cut a piece of black cord, taped the two sides to a piece of paper, then brushed silver acrylic paint on it.  It worked out wonderfully.  This whole project ended up being completely improvised, starting with a wrong cut of fabric!


Happy Sewing,
-Soma


I am linking up with the linky parties on my Events And Links page.  Please pay a visit to some of them.

 https:


Leave a comment


error: Content is protected !!