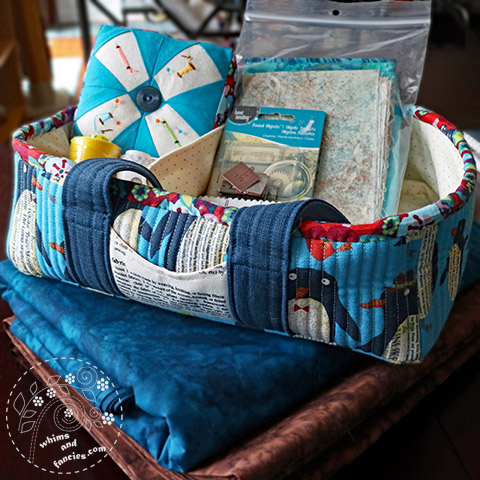
My husband uses a small pillow on his chair for lumbar support. The previous pillow was bought during my pre-sewing days and it definitely had seen better days. Just like the cobbler’s children go barefoot, my husband continued to use the lumpy, torn pillow for months. My ego also wouldn’t let me purchase a new pillow because I had dug my heels in about making the pillow myself. So I made a commitment to make it before the holidays and started thinking about design ideas.

The window of my atelier faces the eastern sky, which, during sunset, takes on a lovely purple and pink hue called the Belt of Venus. I love the inky black bare tree branches against that colour during winter months.
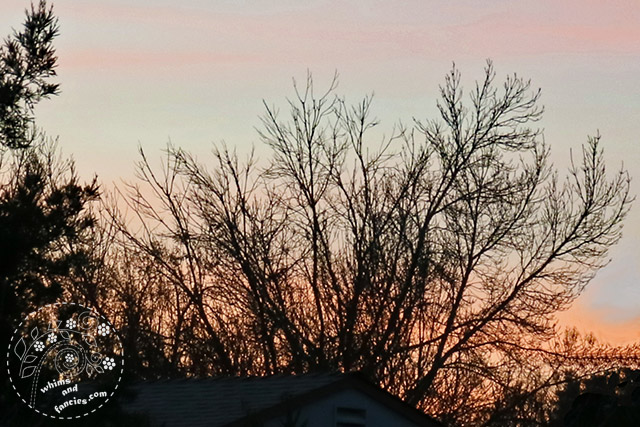
Shortly after finishing work, I stopped at one of our west-facing windows to admire the sunset colours peering through the bare tree branches there too.

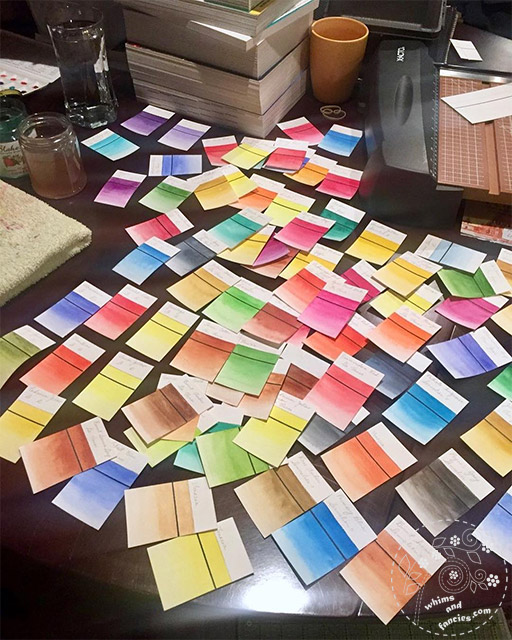
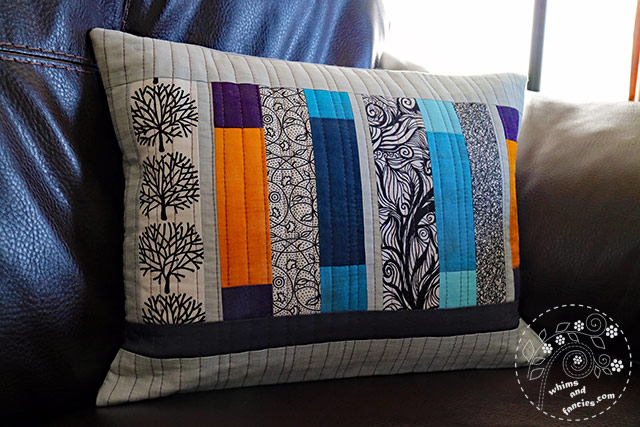
Then my eyes wandered over to the bookcases right beside the window. The bare trees and the bookshelves gave me an idea for the pillow design. I pulled out a few black and white tree-themed fabrics and a few scraps of textured solids. I picked a textured grey for the background to keep a monochromatic look with splashes of colour from the solids.
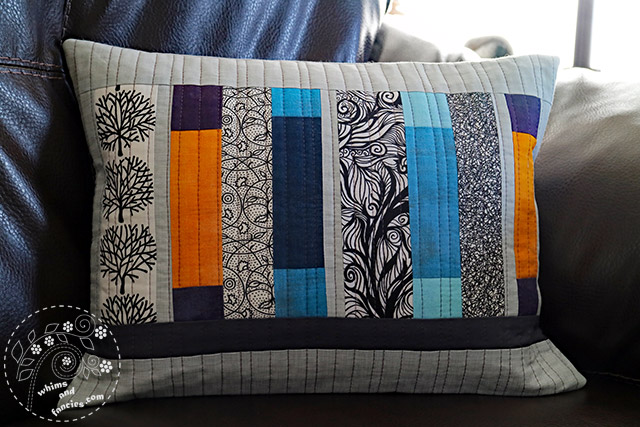
After cutting a few strips of the tree fabrics, I made a few multicoloured, randomly-stitched stripes with the solid fabrics making them look like book spines. I stitched them together with a few thin strips of grey background fabric in between and added a darker grey at the base. It made the impression of a little bookshelf for the pillow front.
I picked a shade of purple thread for the purple sky and varied the line spacing a little to add a little bit of interest. If you are wondering, the spacing between the lines are 1/2″, 1/2″, 1/4″ and so on.
My dear husband never complains. When I grumble about not getting enough done, he becomes my voice of reason and reminds me that there are only 24 hours in a day. It felt great to make this for him. I had to convince him to use it because he felt it should have been framed as wall art. I am flattered!!
Happy sewing,
-Soma
I am linking up with the linky parties on my Events And Links page. Please pay a visit to some of them.
Leave a comment