So much of my time is spent on-screen with researching and working that some days it leaves my eyes tired and my head jammed shut. As much as I love getting lost in the digital world, I do need breaks to avoid burnout. For that, I have relied on drawing and writing all my life. These stolen creative moments help me reconnect with my love of slow living. It doesn’t matter where I am, I always keep a small sketching kit in my bag. When I started making my own books, I tailor made them with my favorite paper. Today I would like to share some of my book binding process, my on-the-go sketching kit, and the new books I recently made featuring my watercolor paintings as the cover art. Read on for a nice coupon code to use in my shop.
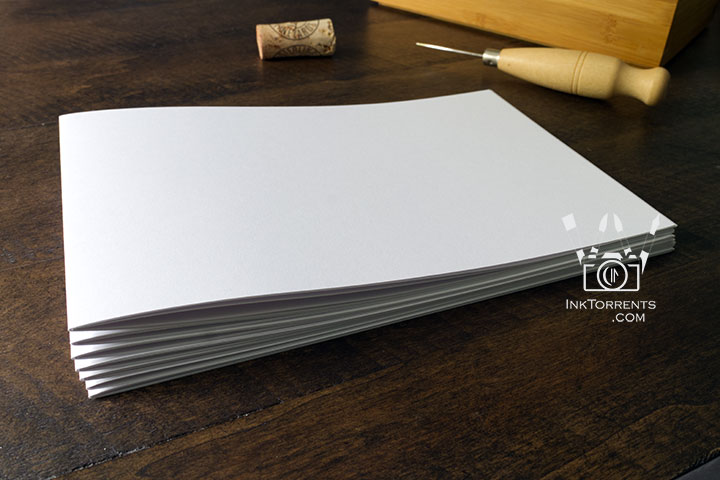
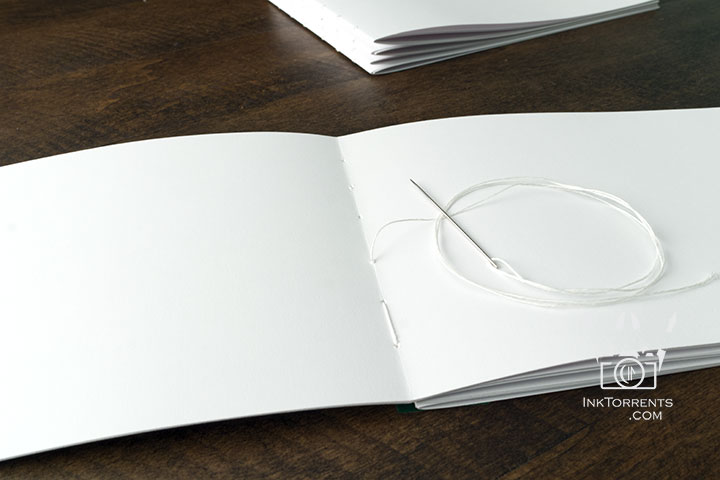
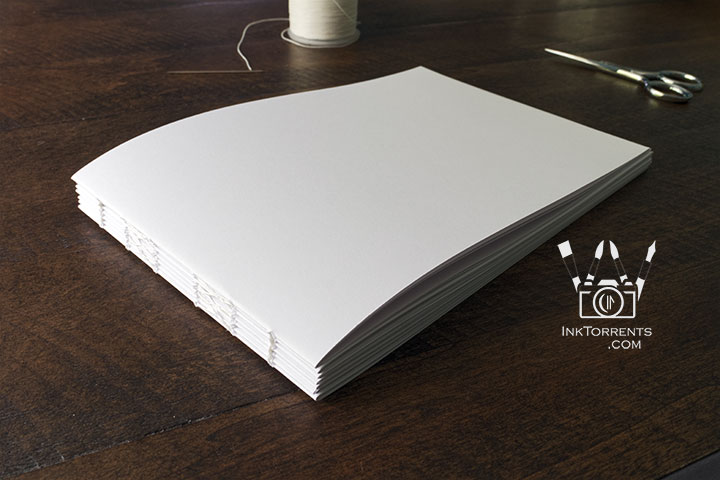
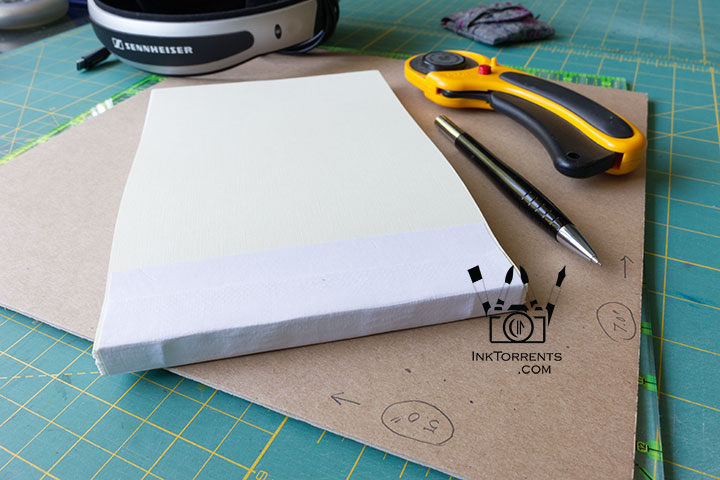
I start by cutting sheets of paper to the right size and folding them to create the pages, followed by punching holes for sewing. The space between the holes is measured based on the size of the book. I first create a template where I do all the math for the stitching hole positions. I like a clean table for this work. Once I finish sewing the text block that is the heart of the book, I move over to my workbench for the messy bit of the work.
I listen to music while I work. The headphone in the back is the first thing I purchased from my first “grown-up” paycheck. It is very special to me.
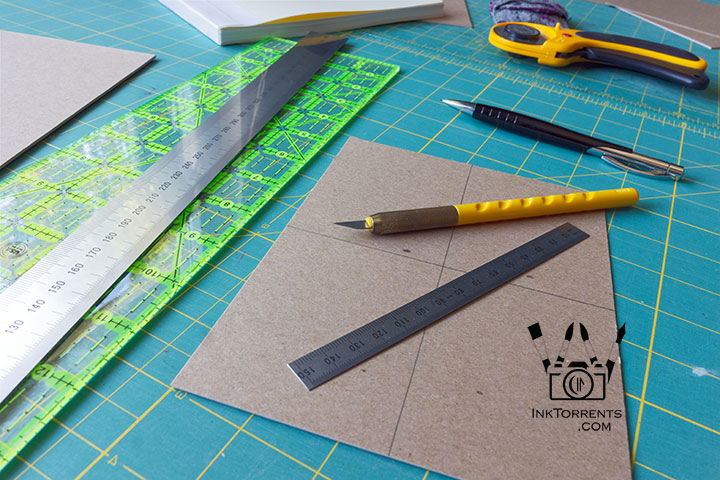
Measurement and timing are key for making the cover. For these books, I cut the inset out from the cover board where the artwork will be placed afterwards. Then I start assembling the book. I have to work fairly quickly here before the glue dries, so unfortunately I couldn’t take any photos of that part.
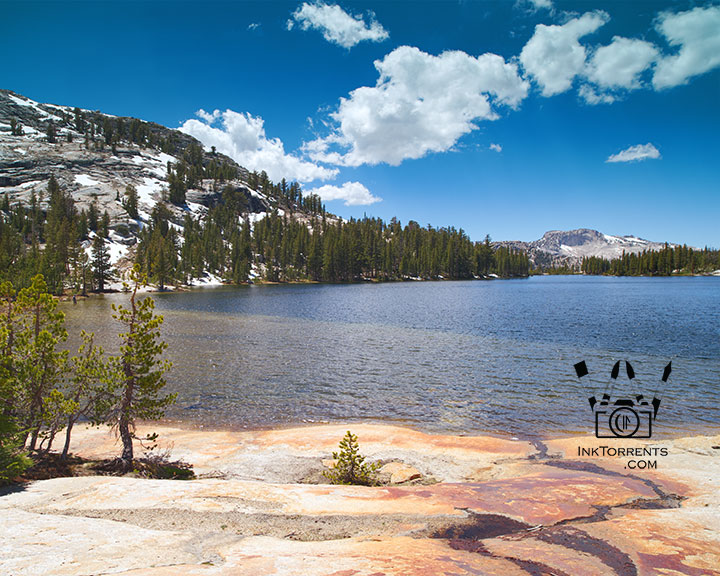
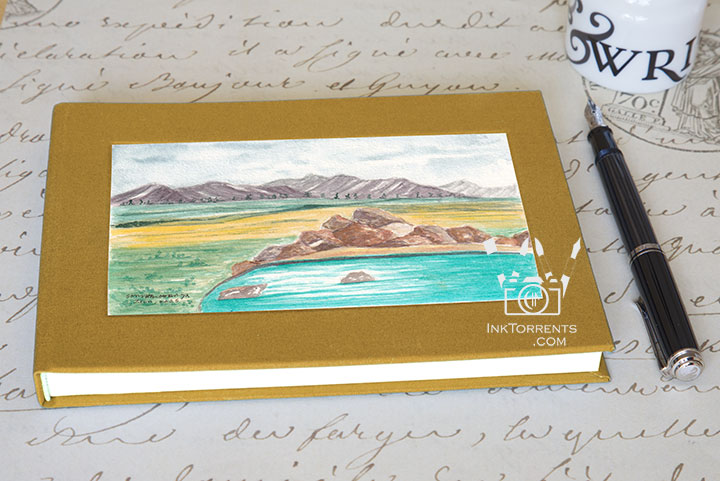
Turquoise Stillness — Sierra Hot Springs
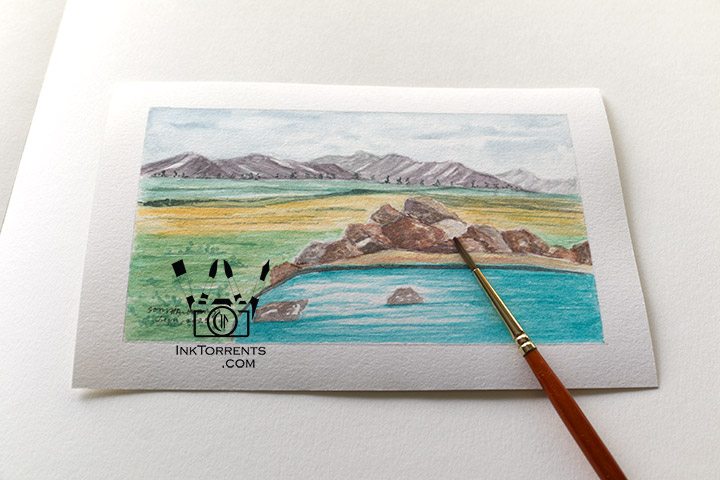
Once the book is completely dry, I start working on adding the artwork on the cover. A lot of my artwork is influence by nature. I painted this scene from the Eastern Sierra region of California.
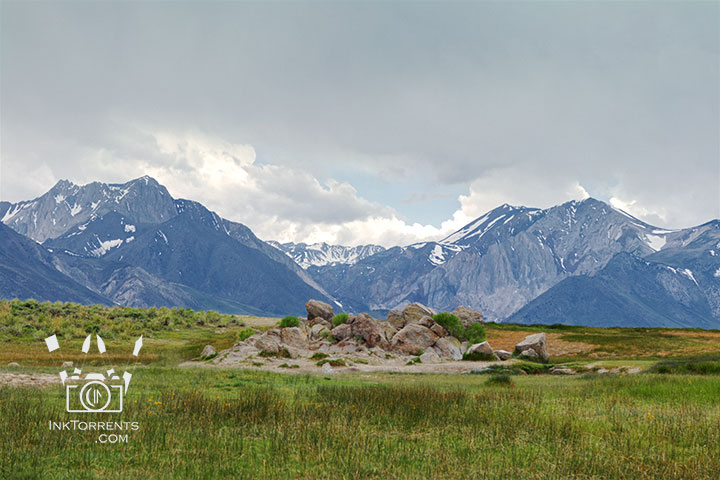
That area is volcanic and there are small public hot springs everywhere. My husband and I went for a walk and came across a few. The area is tranquil and relaxing, with surrounding mountains.
Joining Skywatch.
I make my own book cover cloth. A paper barrier is needed between the cloth and the board so glue does not seep out to the cover cloth. My original choice was Kaufman Kona failed miserably as the weave is not nearly tight enough.
After a Friday night chat with my dear friend Mary, my husband and I drove good 50 miles next day to the closest fabric store in Berkeley. Per Mary’s suggestion we started with Art Gallery Fabrics. Following that, my husband helped me pick out a few pieces from Andover Fabrics as well. I did a few tests that evening, and I had my fabric for the cover.

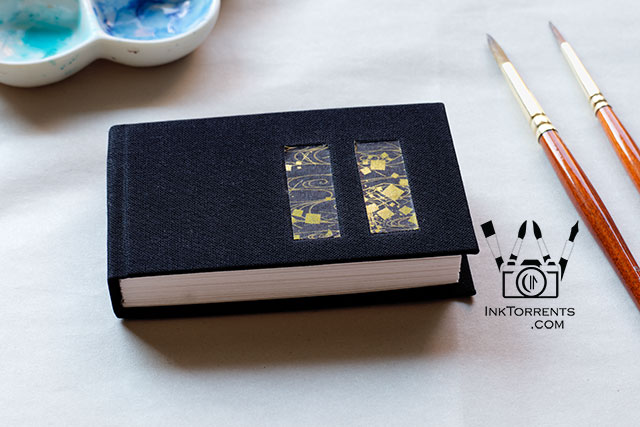
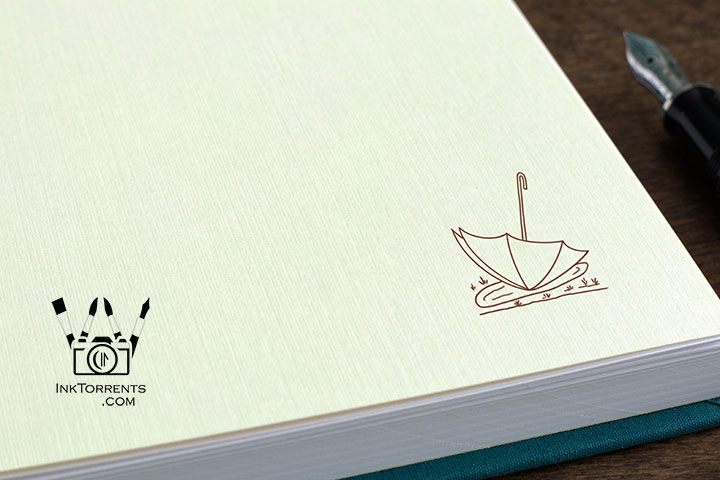
For these books, I went all out dressing them up. I got cream linen-finish paper for the endpapers. Endpapers are the folded colorful pages in hardcover books that connect the cover to the text block.
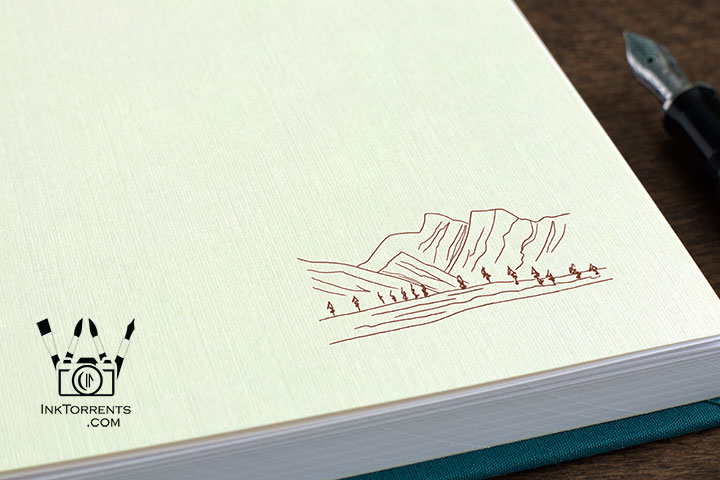
I added coordinated artwork matching the book cover art on the endpaper.
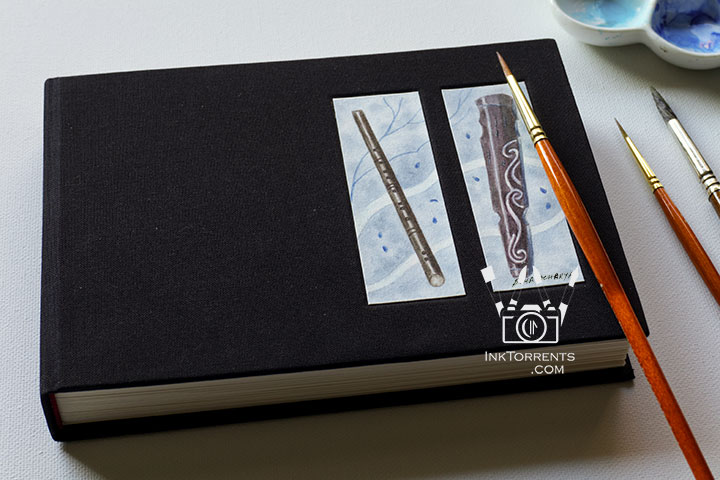
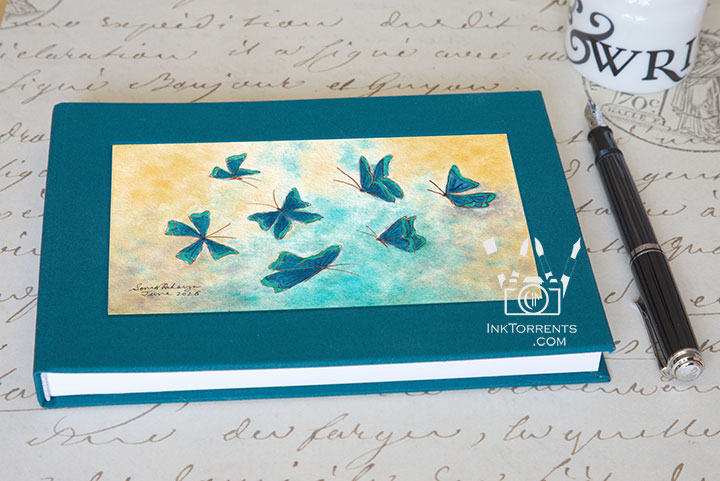
The Blue Butterfly Effect
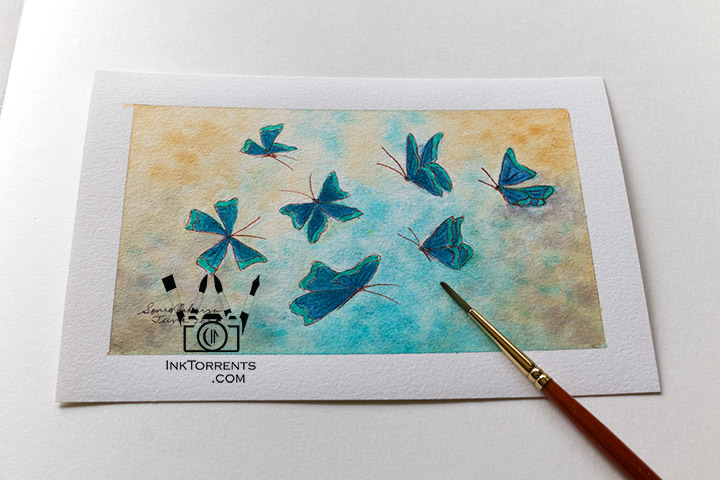
The concept of Butterfly Effect has always fascinated me. Of course I ended up naming this one Blue Butterfly Effect. This simple painting of the fluttering butterflies makes me really happy.
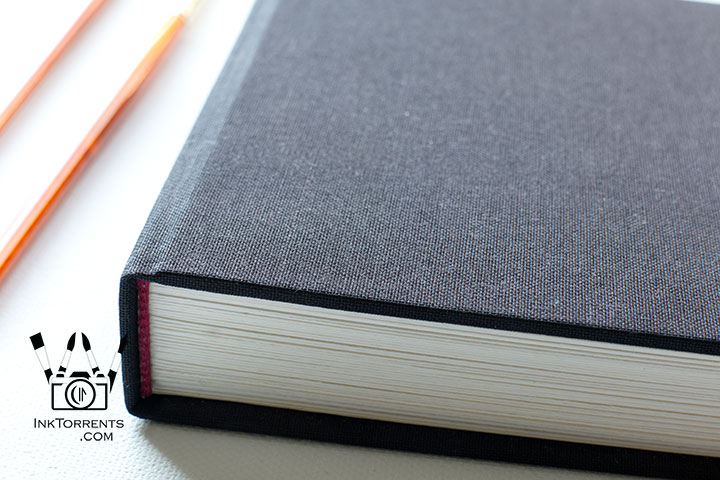
The ends of the spines at the top and bottom have little woven bands on them to cover the raw edges of the spine. I find that little touch to be very special.
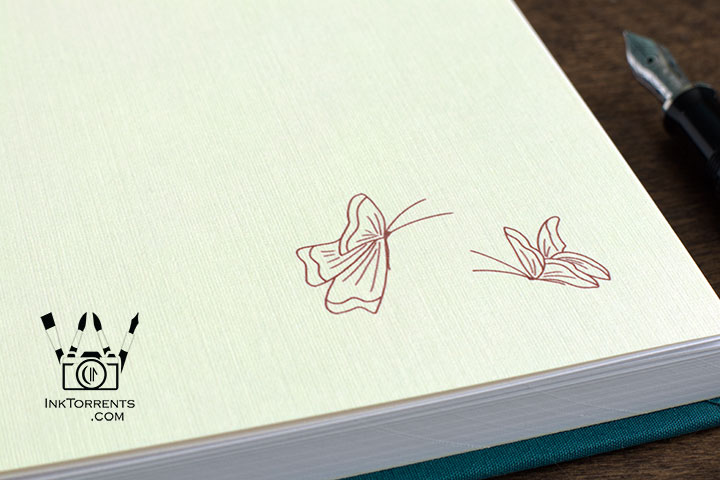
Fluttering butterflies were a natural choice for this book. Sepia brown is my color of choice for this kind of artwork.
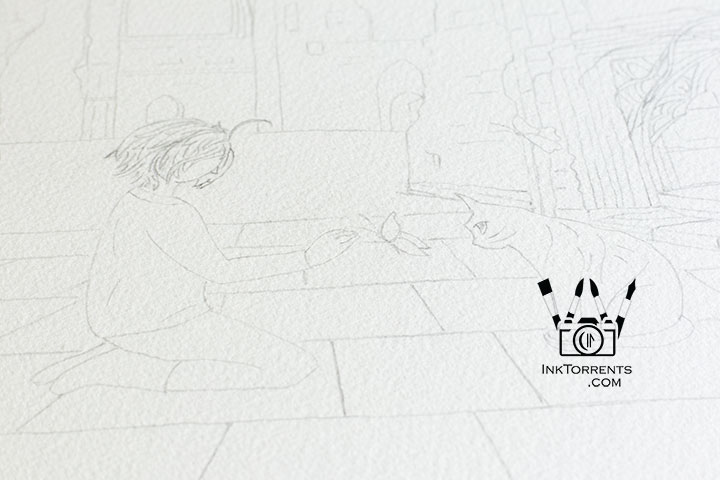
I love adding butterflies to my paintings. This is a new painting I am working on with the Girl and Her Cat.
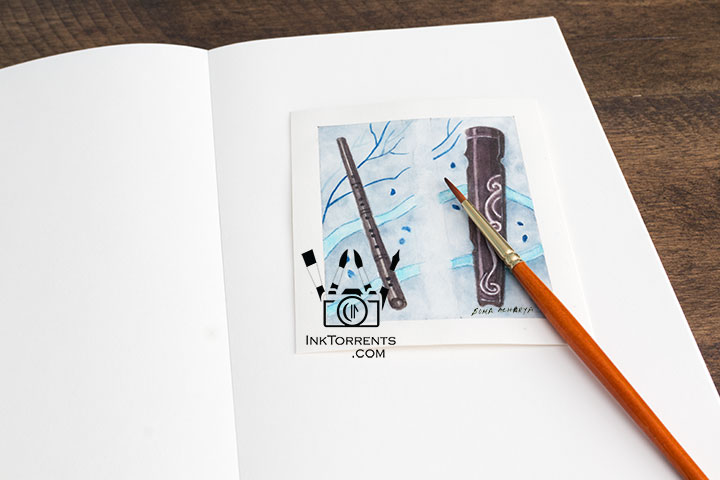
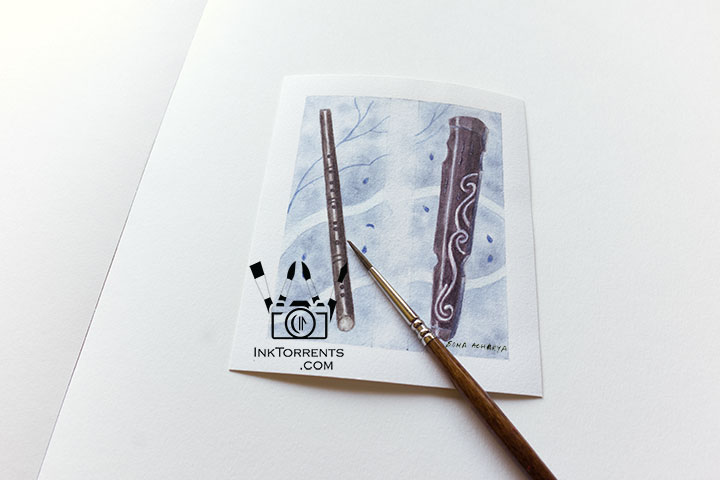
Blue Hydrangeas in the Rain
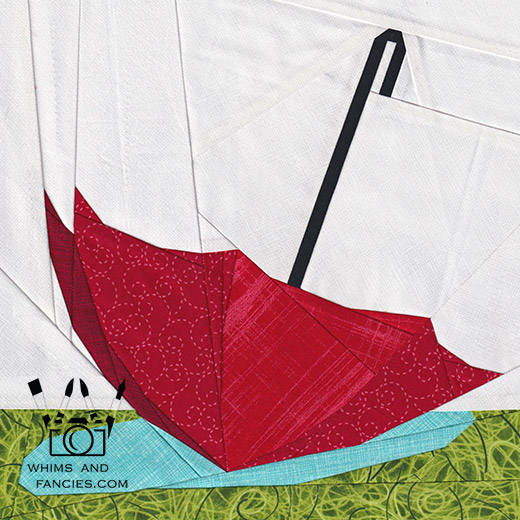
Red is not a color I often go for as a primary color, but I do love this vibrant color for accent pieces. I made this umbrella quilt block from an old drawing of mine. The bright red umbrella took center stage. This block will turn into a bag soon. For my quilting readers, you can get this red umbrella quilt pattern here.
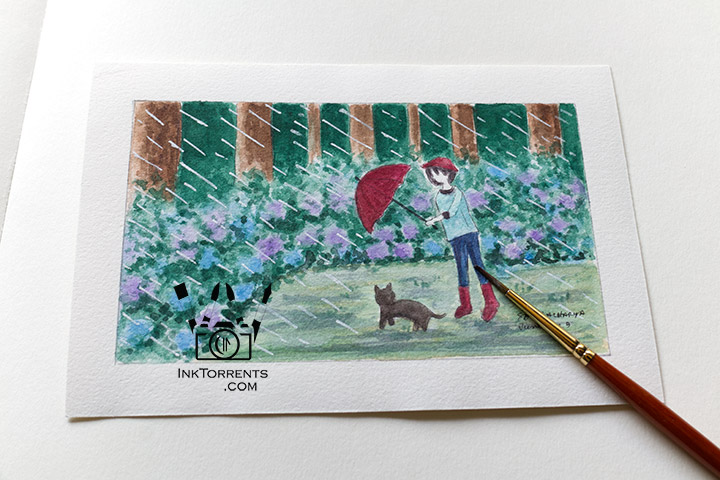
I am not confident enough to venture out with a red umbrella and red boots. I am a jeans and t-shirt girl whose boots are always muddy from spending wet winter days outside. However, the girl from my Girl and Her Cat paintings exudes confidence. I can never pass up the idea of a red umbrella in my artwork.
The Story
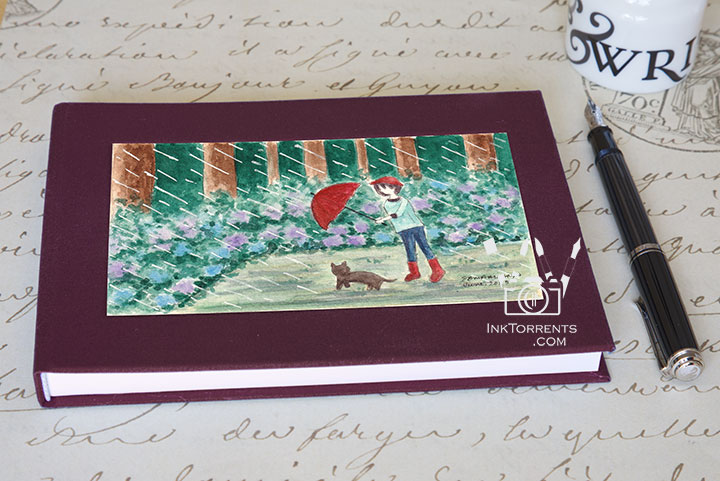
She wants him to get under the umbrella. He wants to go into the hedge to find the thing they came here for. “Also, cats don’t get sick from a little rain” was his answer.
I couldn’t resist recreating the umbrella in the rain puddle quilt block for this one.
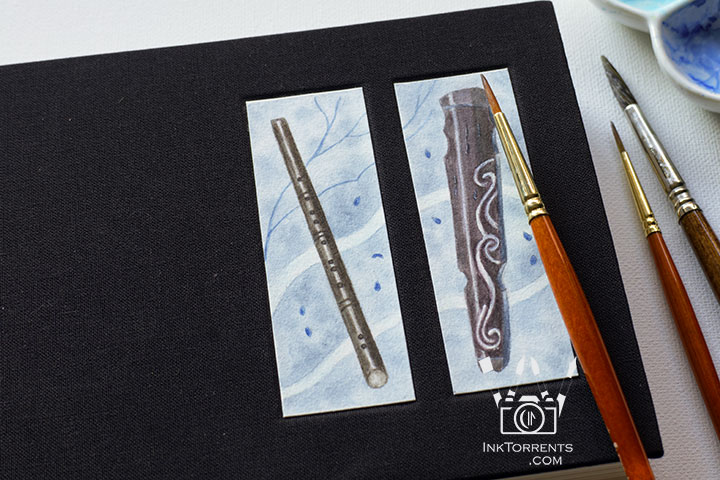
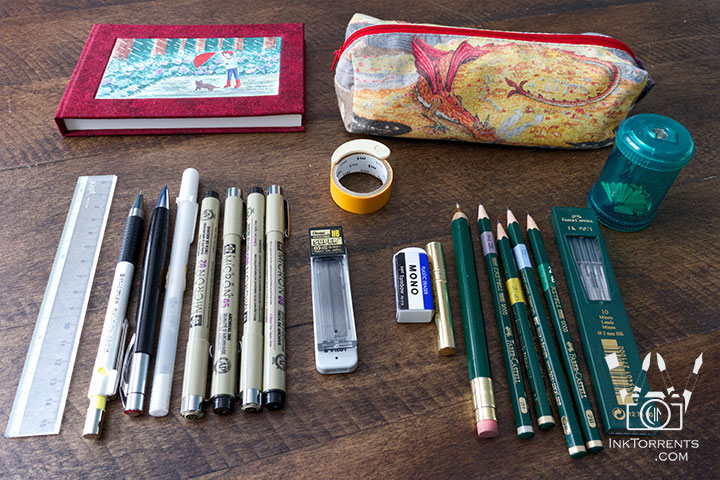
Journaling and Sketching On The Go
Unlike many social media posts, I am not the type of girl who can whip up amazing sketches and paintings while sitting at a coffee shop or other public areas.
I love my solitary creative time. If I find a secluded place, I actually enjoy sketching on-site. So I keep a small sketchbook and a handful of pencils and pens with me at all times.
- Ruler
- Mechanical pencils and lead
- A white gel pen
- Sakura Micron pens – 08, 05, 03 and 005
- Eraser
- Assorted pencils – 2H, H, HB and 2B
- Sharpener
- Washi tape
- Sometimes I add in a Tombow marker or two
All tucked away in the Smaug pencil case that I got from the Boldleian Library at Oxford. This is quite enough for both traveling and those little lunch time breaks. 5-10 mintues is all it takes to draw a small leaf or a flower.
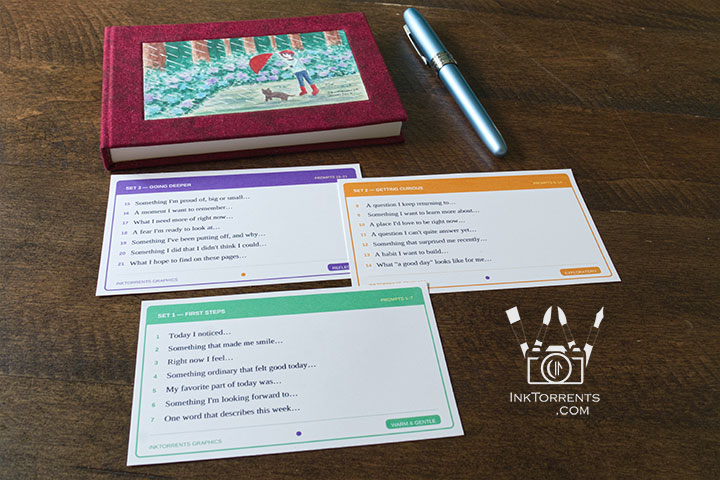
Blank books are like empty houses. The thoughts and lives of people in a house make it come alive and make it a home. A blank book also waits patiently to find its voice through the person to whom it belongs. These books come with 21 easy writing prompts to get over that fear of the blank page.
These books are all available in all three colors. Please use the coupon code july15 for 15% off until July 13th. All the details of the books are at the shop as well.
Update – since I’ve already had a few books find their way into orders last week, I am introducing another 10% coupon to celebrate the launch. Please use july10 for 10% off until July 25th.
With these new books and my pencil case, I am all set for those quiet spells, immersed in my own thoughts and my peaceful surrounding, scribbling away lines and words. I am thankful and really treasure those moments.
I make these books one at a time as individual works of art. I hope one of these artwork books finds its way to you for your own drawings and writings from your creative and reflective world.
-Soma
I am linking up with the linky parties on my Links page. Please pay a visit to some of them. Hosts of linky parties – please grab a photo of your choice for your party. Thank you for hosting!
Leave a comment